Table of Contents
Configuring & Using Self-Checkout
Configuring Self-Checkout. Enabling Silent Auction Self-Checkout via the Event Timeline. The first step to enabling Silent Auction Self-Checkout is to set the available times in the event timeline. L…
Configuring Self-Checkout
Enabling Silent Auction Self-Checkout via the Event Timeline
The first step to enabling Silent Auction Self-Checkout is to set the available times in the event timeline.
- Login to Auction Conductor
- Click the Setup link in the main navigation bar
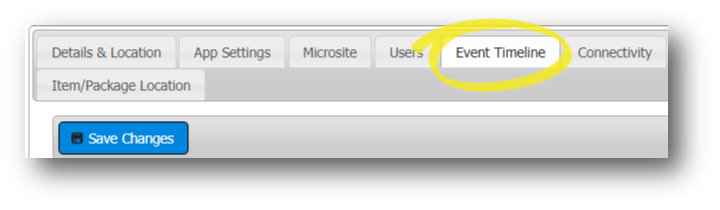
- Select the Event Timeline tab
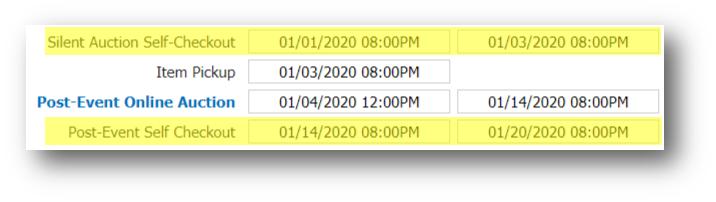
- Populate the Silent Auction Self-Checkout (or, if applicable, the Post-Event Online Auction Self Checkout) fields with the time and dates that Self-Checkout should be available
If you have not already done so, this is a good time to upload your organization logo and or sponsor logo, which can be configured to show on the patron's emailed receipt.
If you do not see the Event Timeline tab, contact your organization lead or AES event manager for access.
Configuring the Self-Checkout Message
The Self-Checkout Message is displayed to the patrons upon completion of the Self-Checkout Process. The use of the Self-Checkout Message is optional, but recommended. To set the Self-Checkout Message;
- Login to Auction Conductor
- Click the Setup link in the main navigation bar

- From the App Settings tab, go to the Checkout section.
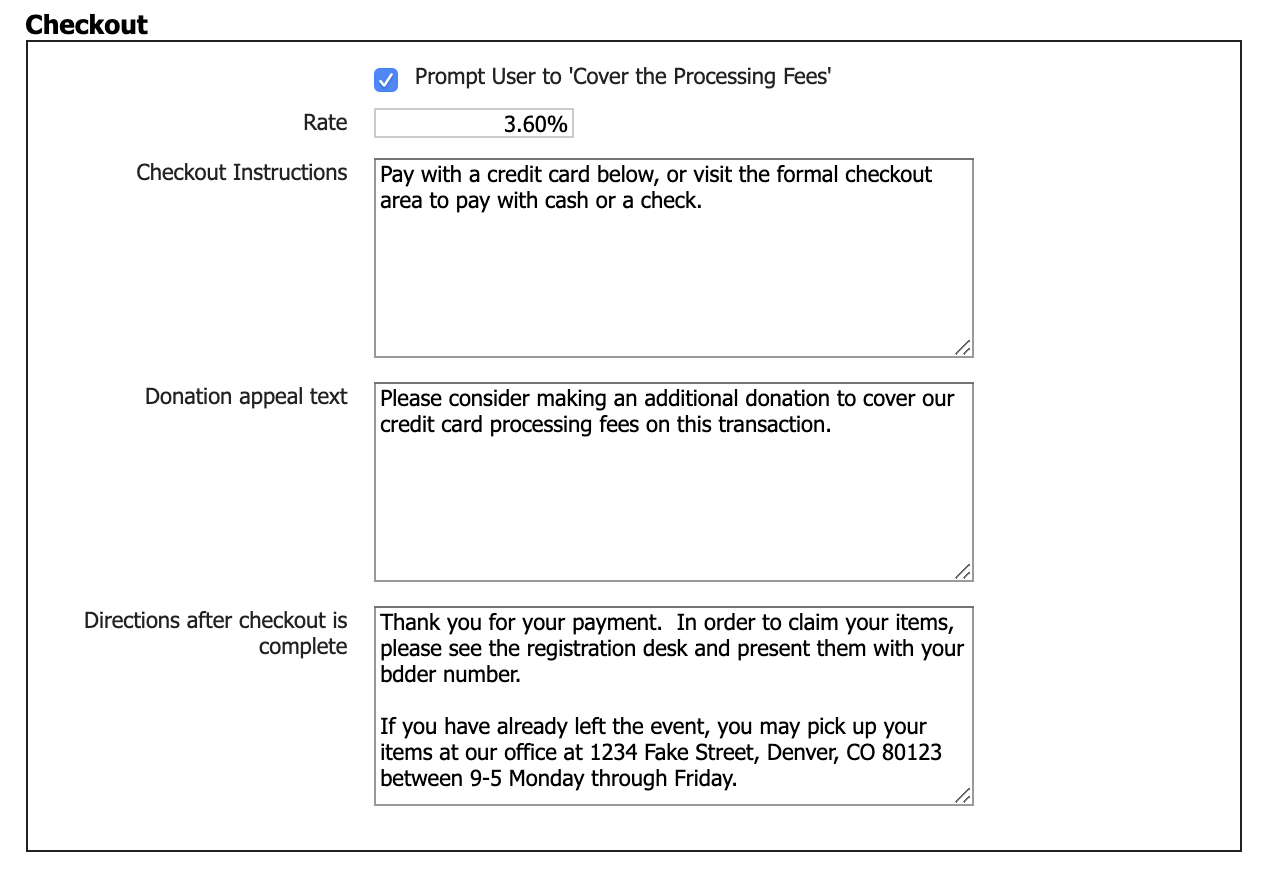
- Prompt user to 'cover the processing fees' - When enabled this will ask the user if they would like to make a donation equal to their total amount multiplied by the percentage rate set here.
- Checkout instructions - Here you can customize the text that appears at the top of the checkout page.
- Donation appeal text - Here you can craft a custom message to ask for the user to consider making the donation.
- Directions after checkout is complete - Here you will wnat to add any instructions you wish to pass on to your guests after they complete their purchase.
What type of event or campaign you are hosting should determine the content of your self-checkout instructions. For example, if you are using self-checkout at your gala for the patron's convenience or to reduce the lines at checkout, then you should include on-site item pickup instructions. If you are hosting a virtual auction where there is no physical item pickup, then you should include contact instructions. For all types of events, consider thank you messages.
Configuring the Emailed Receipt
- Login to Auction Conductor
- Click the Setup link in the main navigation bar

- Select the App Settings tab and scroll down toward the bottom right of the page
- Click the "Email Enabled" checkbox and configure the related fields
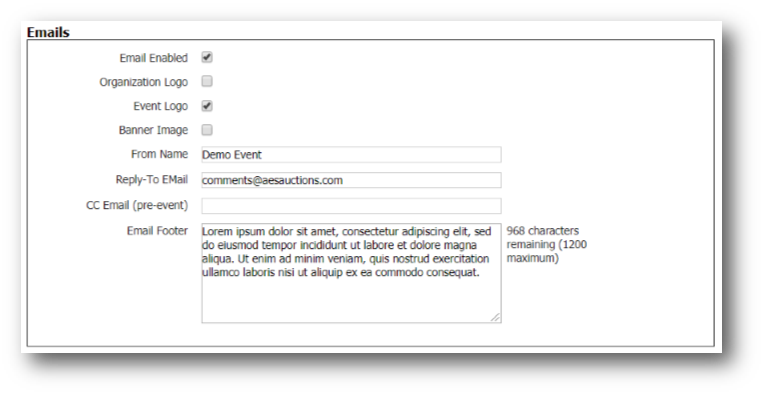
- Organization Logo - This checkbox allows you to decide whether or not to display the Organization Logo at the top of the patron's emailed receipt.
- Event Logo - This checkbox allows you to decide whether or not to display the Event Logo at the top of the patron's emailed receipt.
- Banner Image - This checkbox allows you to decide whether or not to display the Banner at the top of the patron's emailed receipt.
- From Name - This field indicates the name displayed to the patron by their email client as who the email came from.
- Reply-To Email - This field indicates the email address that any replies from the patron will be directed to.
- CC Email - This field can be used to carbon copy the emailed receipts to yourself or someone in your organization
- Email Footer - This field allows you to personalize the patron's receipt with a thank you and any organizational contact and tax information.
Logos and the Banner Image can be uploaded at the top of the App Settings tab
The Patron Experience
- Once the self-checkout start time has arrived, the Checkout icon will appear in the main menu

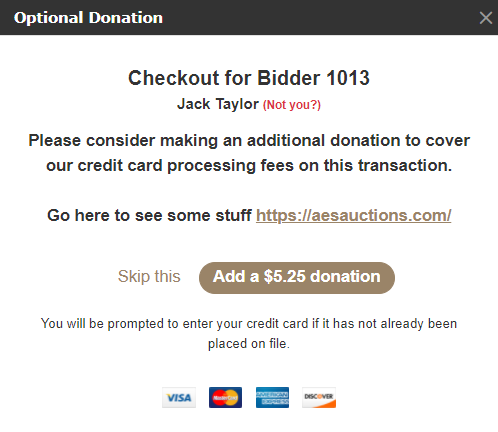
- After logging in, the user will be prompted to add a donation to help 'cover the processing fees' if you have that option enabled. Here is where your custom donation appeal text will be displayed.
- Next, the user will be shown a listing of their purchases, tax (if applicable), total and balance due.
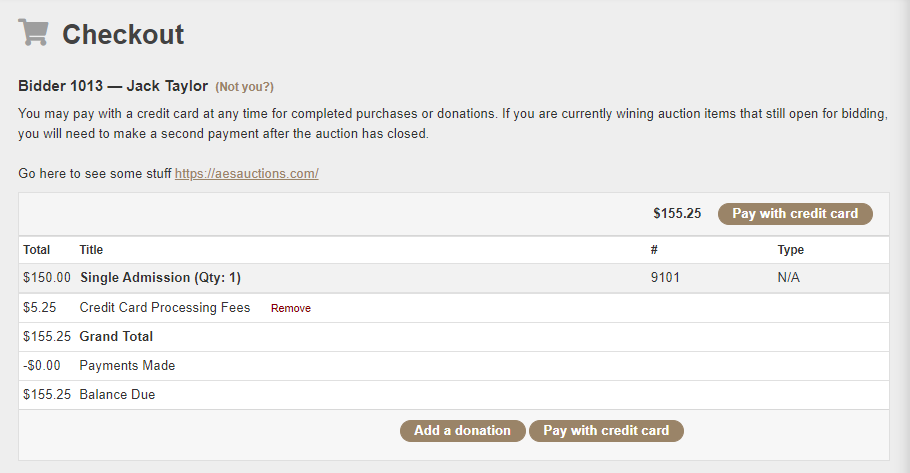
- The user is then prompted to authorize the transaction
- If the patron purchased their tickets through an AES Event Microsite, placed their credit card on file at registration, or purchased a Multi-Unit Instant Pay package, then they will be given the option of using that card on file, or entering another card. Patrons without a card on file will be prompted to enter one
- The patron is then prompted to enter their email address so that their receipt can be emailed. If the patron's email address is already in the database, then that info will be pre-populated
- Finally the "Transaction Complete" message is displayed along with the Silent Auction Self-Checkout Message (if configured)
How did we do?
Accepting/Splitting Payments