Table of Contents
- Configure your Branding, Look & Feel
- Create your Microsite
Event Ticketing/Microsites
Configure your Branding, Look & Feel. The first step before building your event ticketing microsite is to configure your logos, colors, fonts, and email settings. Log in to Auction Conductor , then n…

- Configure your Branding, Look & Feel
- Create your Microsite
Configure your Branding, Look & Feel
The first step before building your event ticketing microsite is to configure your logos, colors, fonts, and email settings.
Log in to Auction Conductor, then navigate to Setup > App Settings
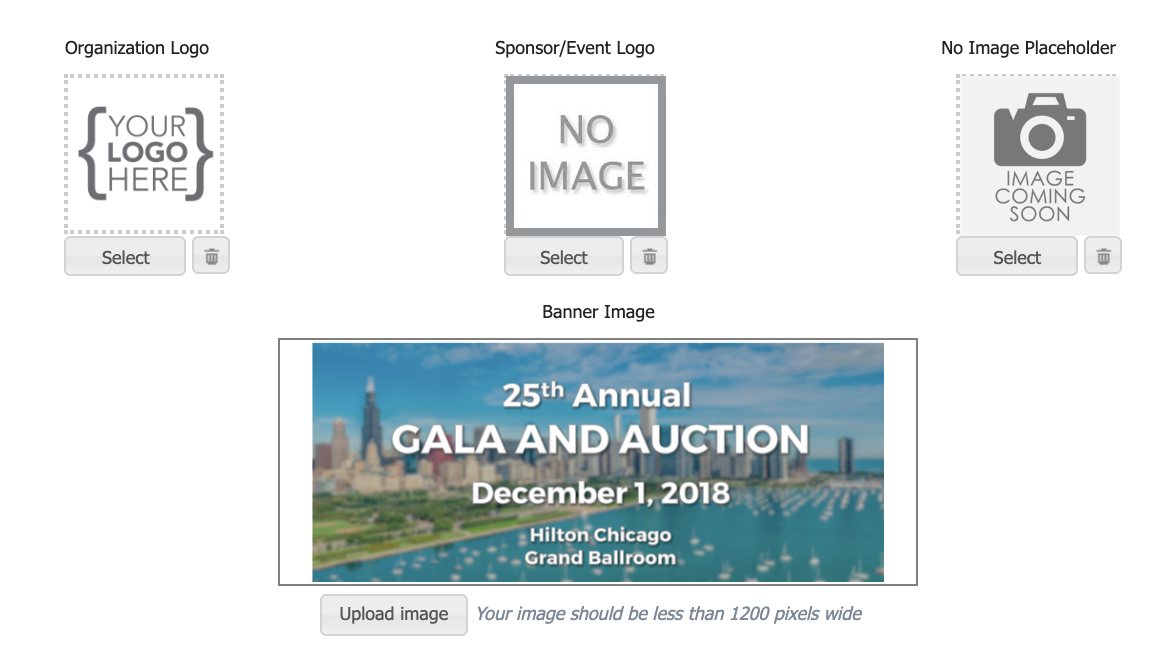
Upload your logos and banner image
Here you may upload your organization, event, and banner images for use in various places within the microsite and related messaging.
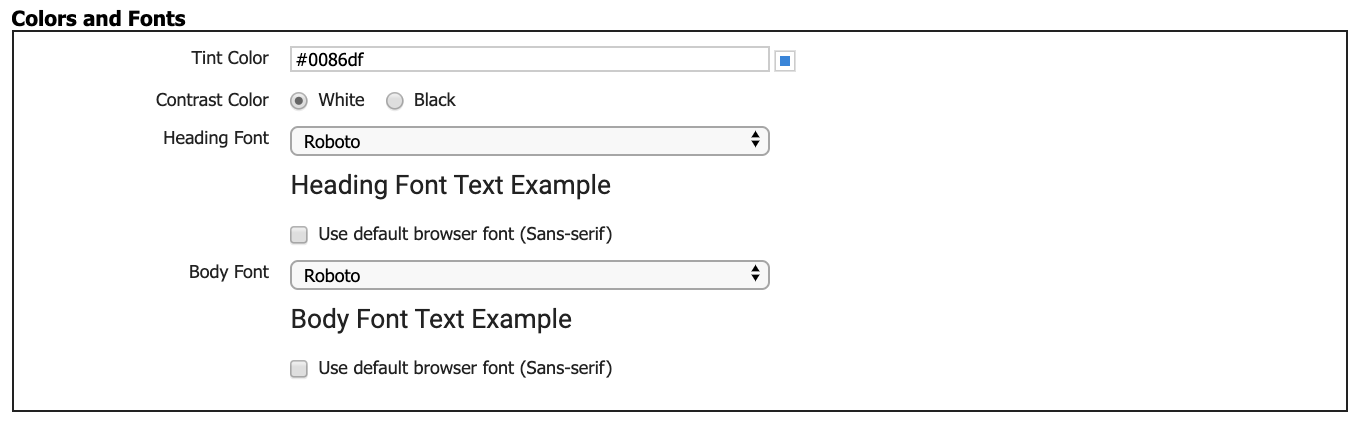
Look & Feel Customization
Choose your primary tint and contrast color, to be applied to all pages on the event website. Be sure to choose a contrast (white) that will be readable when overlaid on the primary tint color (blue).
You may also choose to customize your heading and body fonts, which will apply to all pages. For a visual representation of each font available, visit https://fonts.google.com/
Email settings
Here you will choose how your outgoing emailed receipts and check-in notifications will look to the ticket buyer. Select which logos to display at the top of the email, and most importantly where the replies will go when someone has questions about the event. You may also choose to copy one or more emails on each receipt fired from the system, to get instant visibility when tickets are purchased.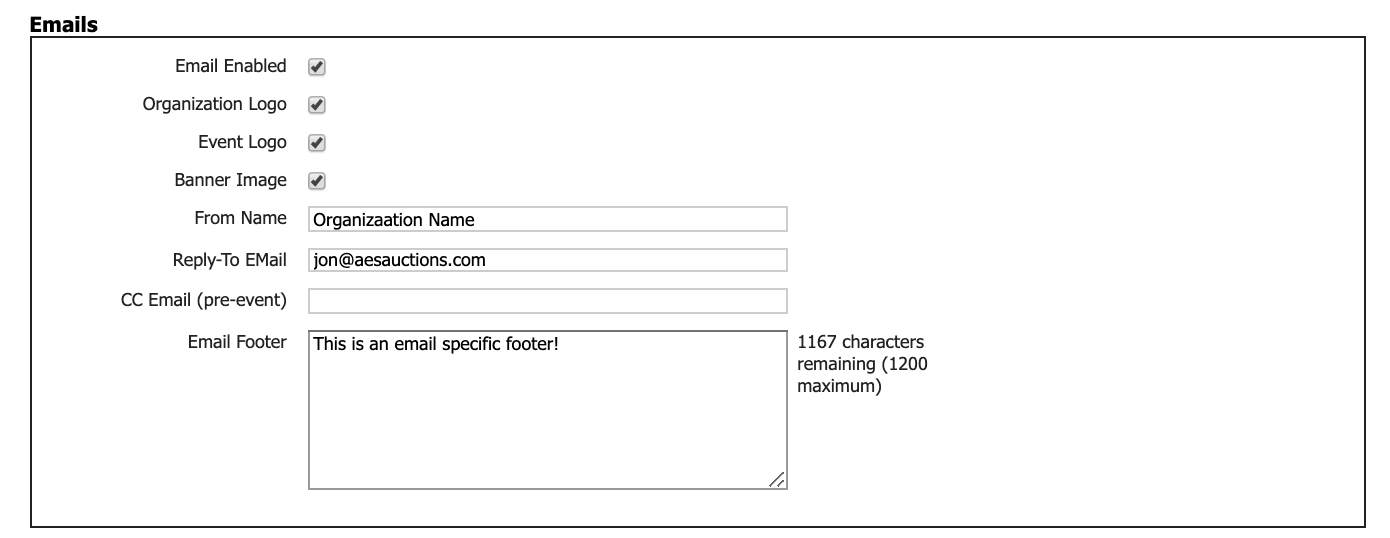
Create your Microsite
Log in to Auction Conductor, then navigate to Setup > Microsite
General Settings
Naming Pages and Navigation Buttons
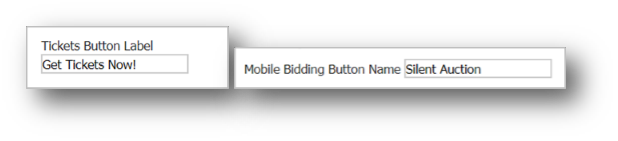
There are two pages that can be custom named in your event website
- Ticketing– where each available ticket page is featured
- Mobile Bidding– a link to the AES mobile bidding/giving application
The custom name will be shown on the page header, and in the navigation menu.

Disable Ticketing and Sponsorship Sales at a Preset Time
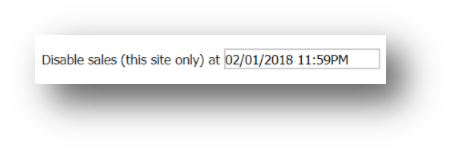
Choose a date/time to stop sales of admission tickets and sponsorships only. When this time has been reached, the “Get tickets” button will change to “Donate now” and all links to the Get Tickets and Become a Sponsor pages will be hidden.

Allow Buyers to Update Guest Names Later
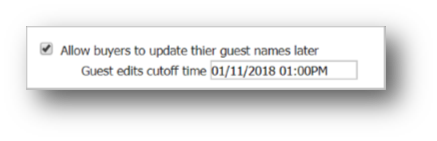
This setting will allow your guests to update their guest names leading up to the event. This can be especially useful for buyers of sponsorships or admission ticket packages that contain multiple seats or entire tables of guests. When enabled, the confirmation email sent to the buyer will contain a link to update guest information at a later time.
The update guest info link will navigate the user to the event website, where they can change or enter their guest names, contact information, meal selections and special requests.
After the specified Guest Edits Cutoff Time is reached, all meal selections, bid# changes, and special requests are locked to the contributor. This will allow event organizers ample time to prepare for the event without worry of last minute changes.
Choosing Which Pages to Show
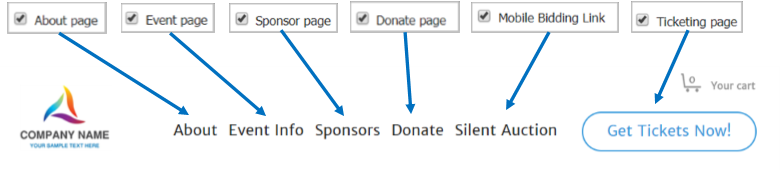
It is possible to show or hide certain pages on your event website to tailor the user experience to your mission and packages being sold.
Adding or removing these pages will also change the navigation options available in the main menu and on other parts of the site, including purchase confirmation emails.
Allow purchaser to cover processing fees
When enabled, this feature allows the buyer to make a donation at checkout in the amount of the credit card processing fees and/or other costs related to event ticketing.

For more information about this feature and how to configure it properly, please read this article:
Offset Credit Card Processing Fees
Home Page Settings
Hero Background Image
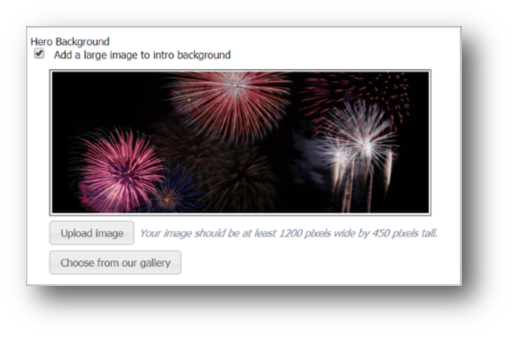
The Hero background image will be prominently displayed on the event homepage, near the top. Options include choosing an image from our gallery, or uploading your own image.
Tip: Higher resolution images will look better on Apple “Retina” screens, but will take longer to load over a cellular connection.
Optimal resolution is 1200 x 450, with a file size around 200KB.
If you are having trouble finding the correct size image, get in touch with your AES Planner for assistance. We can usually resize your desired image to the correct file format.
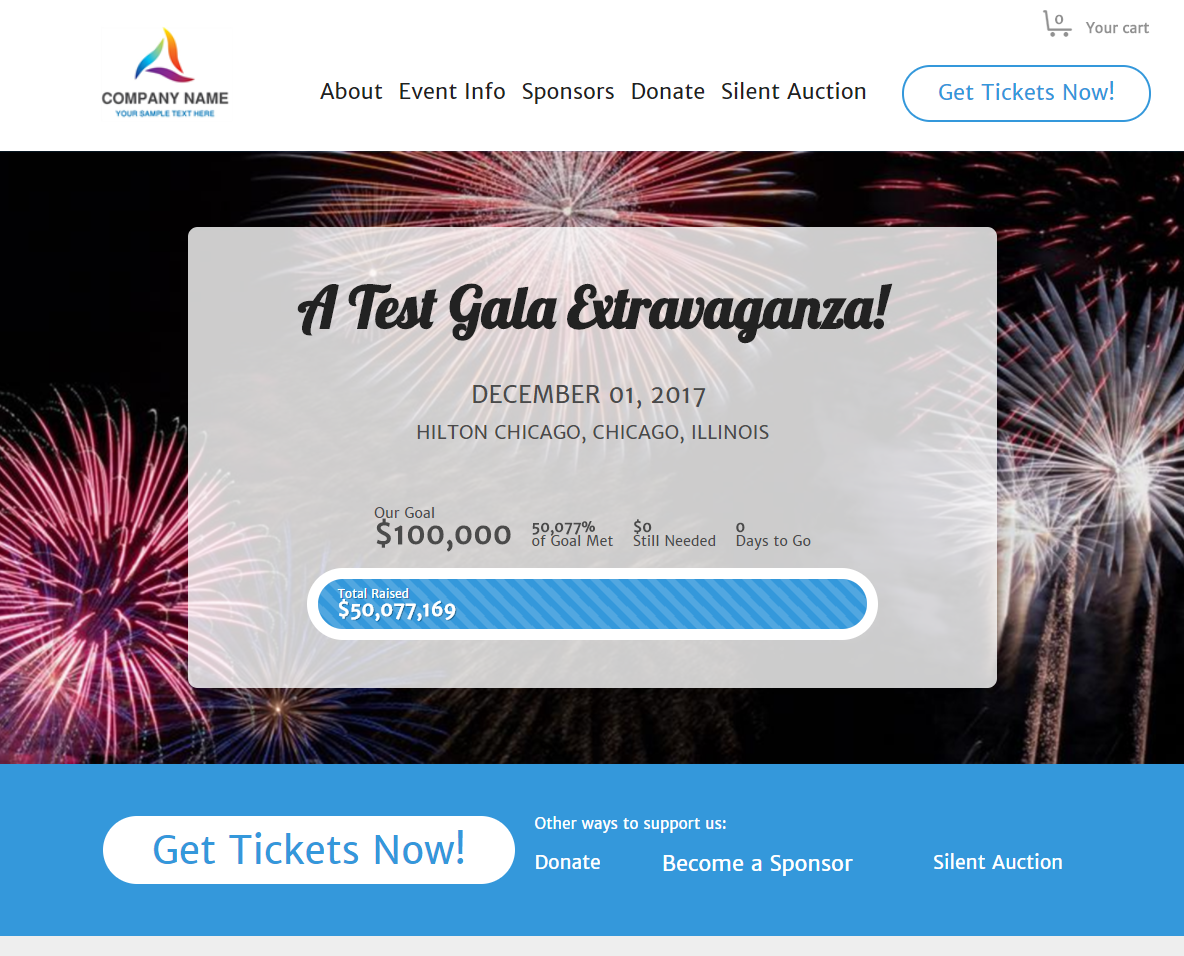
Intro Widget
Here you can choose what will be displayed front and center on your microsite homepage.
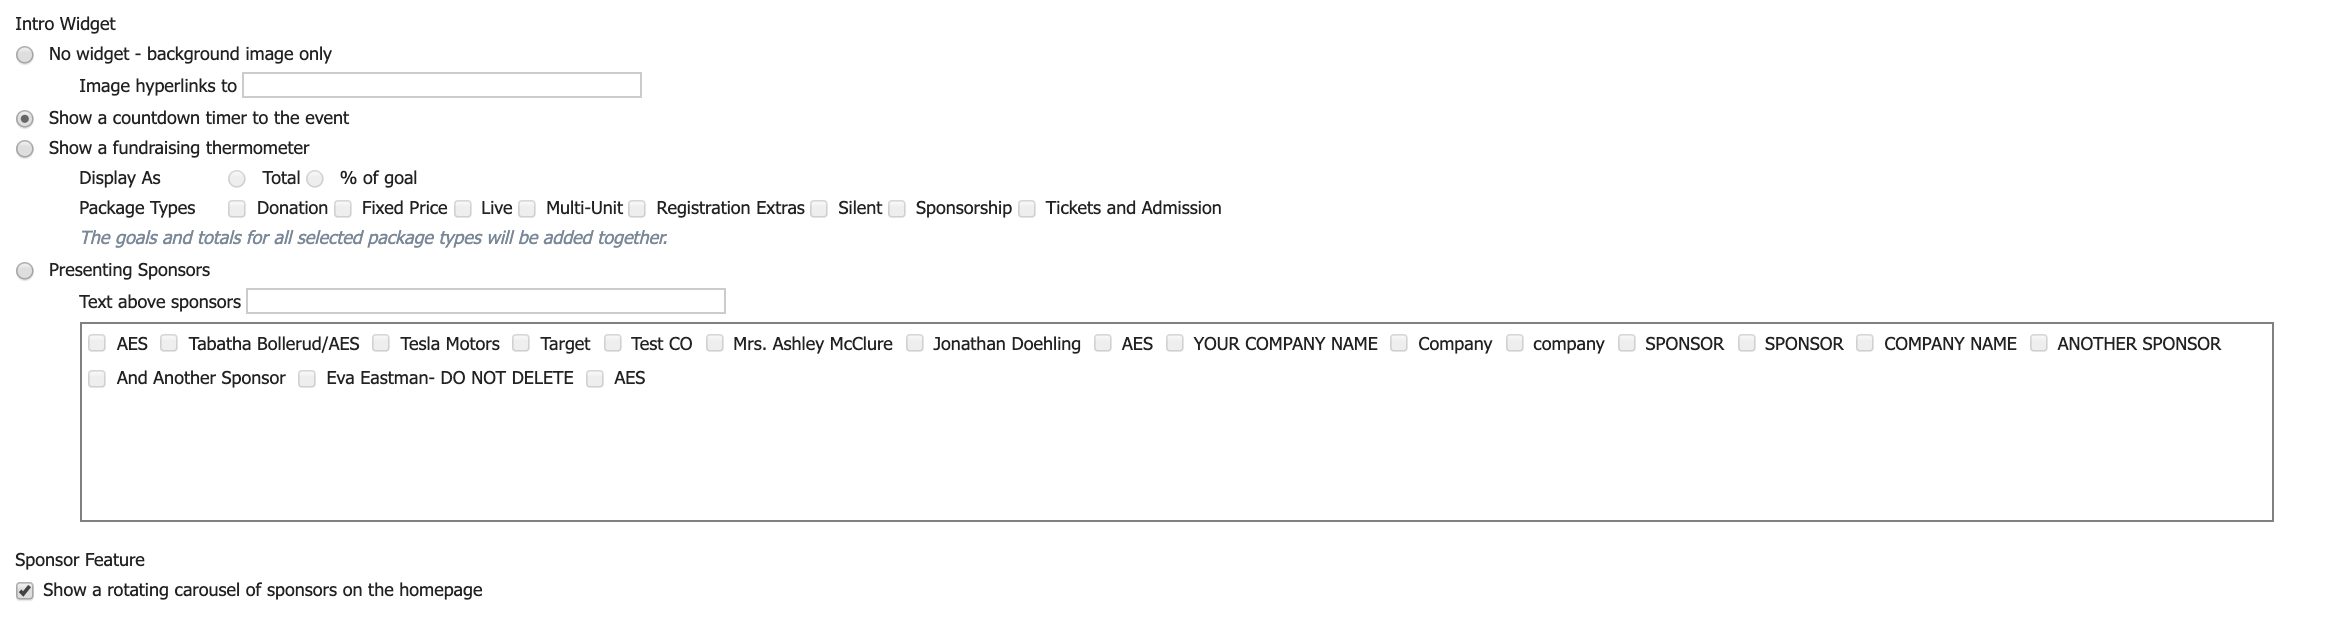
No Widget is the go-to option if you have no desire to show a fundraising total, goal, countdown to the event, or featured sponsors.
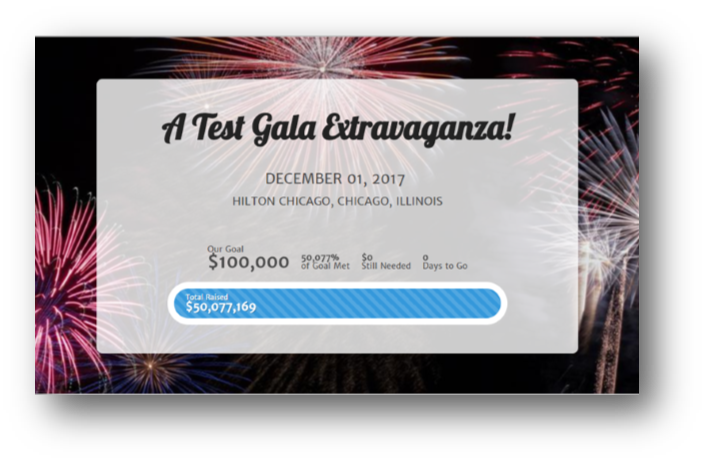
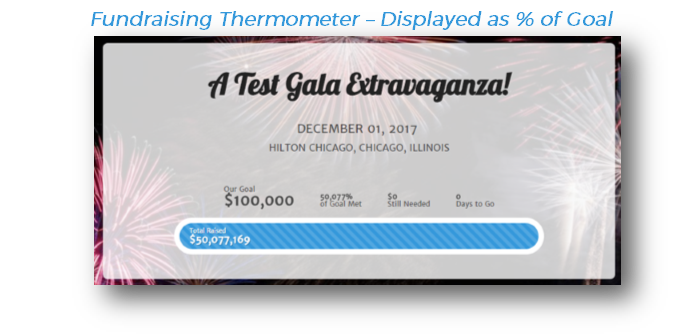
One of the more popular ways to increase revenue and build excitement among potential donors is to advertise your fundraising goal, along with a real-time progress bar that updates automatically as users make purchases and bids from this website and other AES applications such as mobile bidding.
When choosing the Fundraising Thermometer option, make sure to carefully select which package types should be included in the goal calculation and progress total.
For example, you may wish to show a progress bar for your fund-a-need donation campaign only, and not include admission ticket, sponsorship, and other sales.

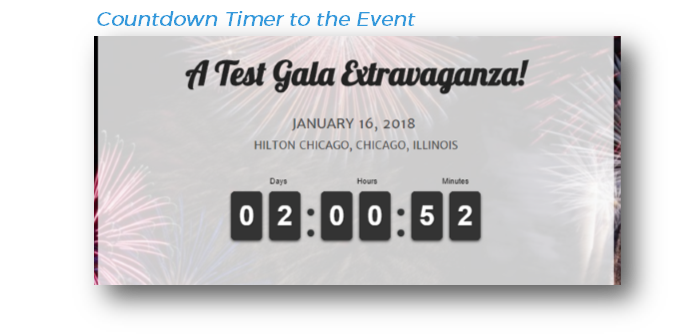
If you do not wish to share your fundraising goal with the general public, you could choose to display the countdown timer instead. This widget will count the days, hours, and minutes until your event in order to generate a sense of urgency with potential buyers.
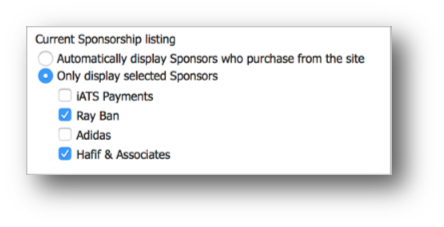
Homepage Sponsor Carousel
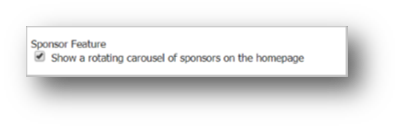
In addition to the dedicated Sponsors page, you can also recognize your sponsors on the home page with a scrolling carousel widget. Choosing this option will display the sponsor logo (with a clickable link to the sponsor website) for any selected sponsors.

Rich Text Description Fields
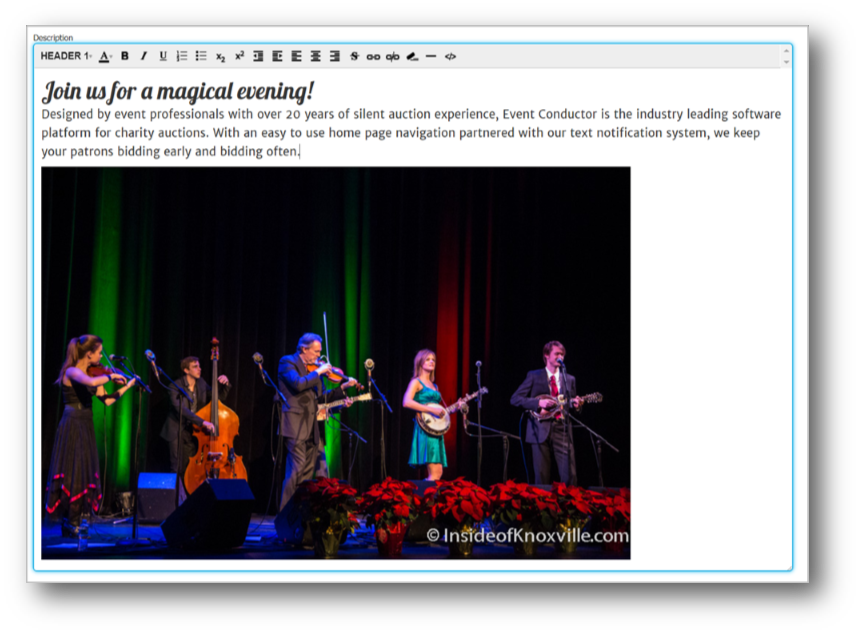
Multiple areas of your event website have the ability to display rich text, hyperlinks, and images pulled from the web. Rich text boxes can be identified by the following editing tools:

Text can either be typed manually or copy/paste into the rich text field.
To avoid any formatting issues, be sure to paste values. This method will paste unformatted text which you can then customize within the rich text editor.
Windows: Ctrl + Shift + V
Mac OS: Cmd + Option + Shift + V
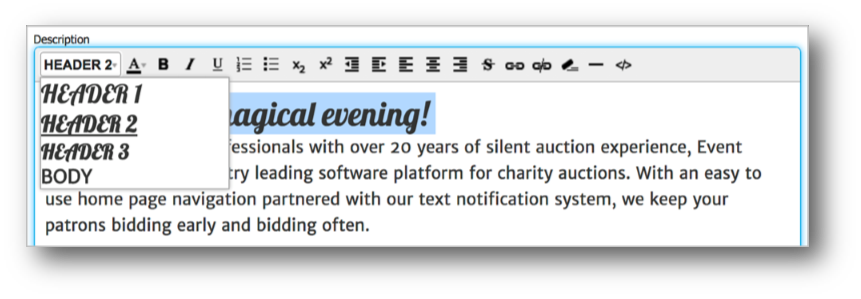
To format the size and font of your text, highlight the desired text and choose the font format from the dropdown in the rich text editor. The options presented to you will match the Heading Font and Body Font previously chosen on the general settings page. To change these fonts, simply select a new font on the general settings page and this section will automatically be updated.

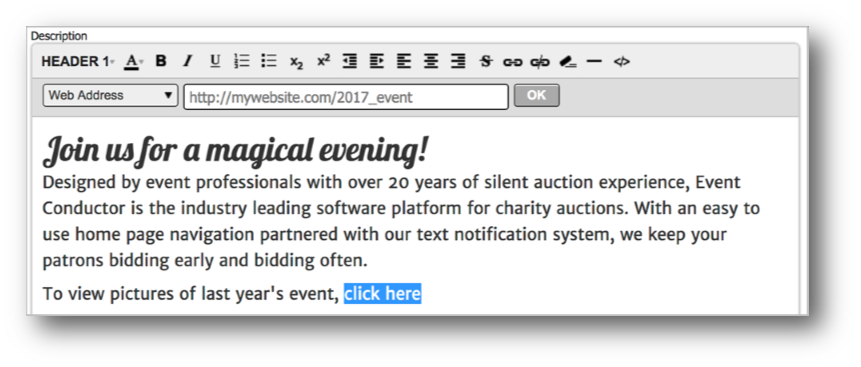
To add a hyperlink, highlight the desired text and click the Add Link button in the rich text editor.
Select Web Address from the dropdown, and enter the desired hyperlink URL.
Click OK, and the selected text will now be displayed as a hyperlink.

To add an image, place your cursor in the desired location on the page and click the Add Link button in the rich text editor.
Select Picture URL from the dropdown, and enter the web location for the desired image.
Click OK, and the image will now be displayed in line with the text.


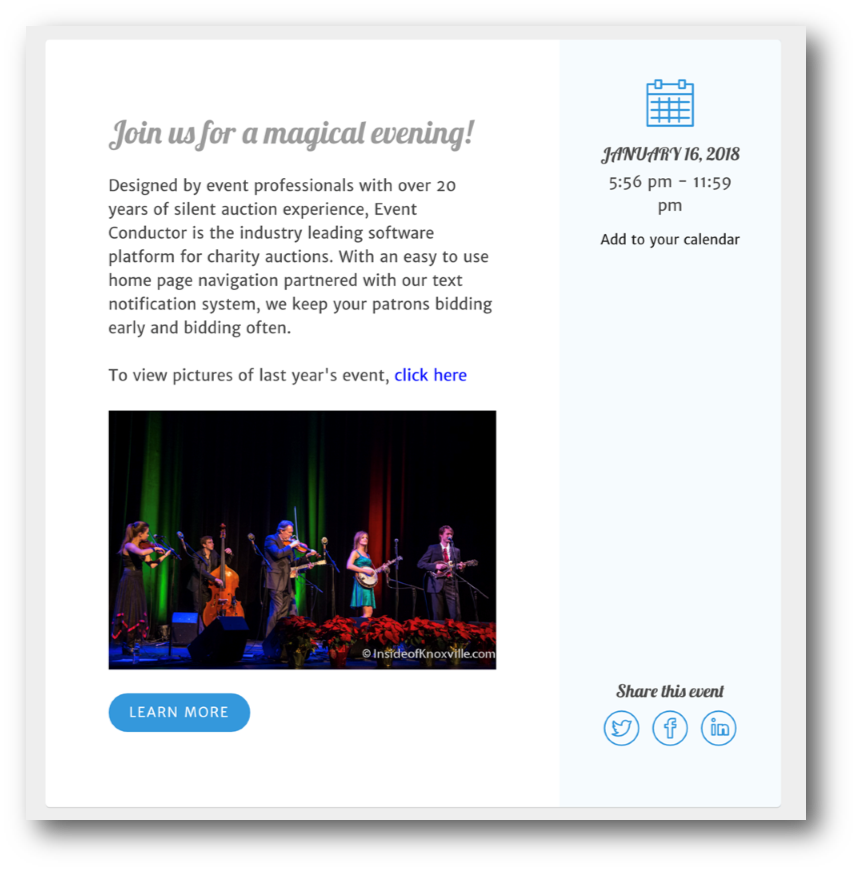
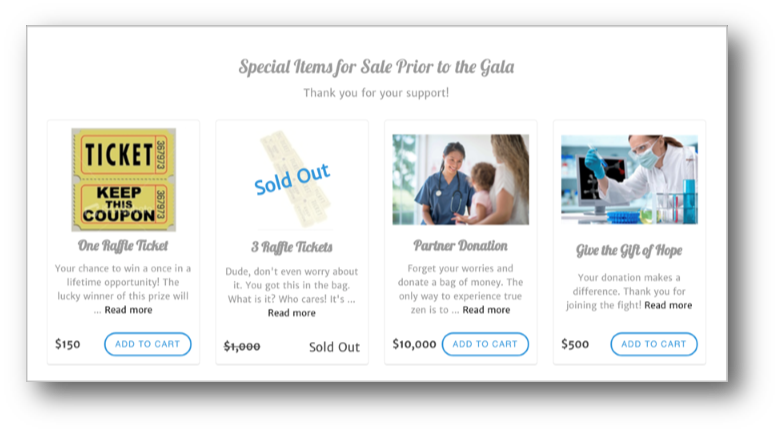
The following screenshot is a representation of what can be displayed with rich text boxes utilizing default fonts, linked images, and hyperlinks.
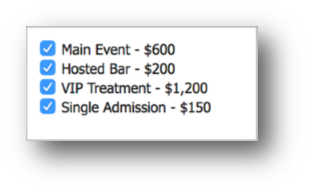
Packages to Feature on the Homepage
Enable this function to sell featured packages on the event website homepage.
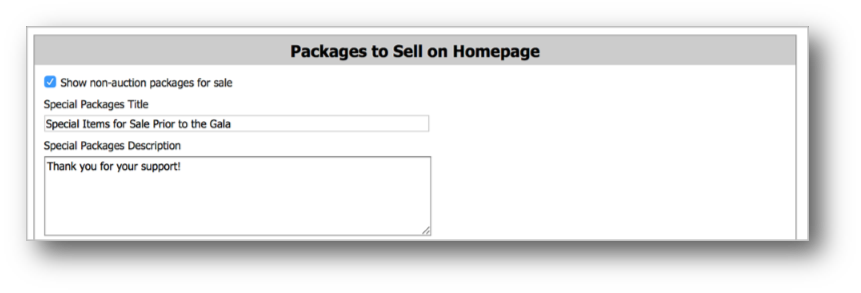
Special Packages Title & Description
Insert some custom text here to provide some context or talk about your mission.
Package Types Available to Sell
You may choose to display any package from these multi-unit package types only:
- Fixed Price
- Registration Extras
- Multi-Unit
- Donation

About Page
This page is intended to share additional information about your Organization, fundraising goals and mission. It is a place where donors can become more familiar with what you do while browsing other areas of your event website.
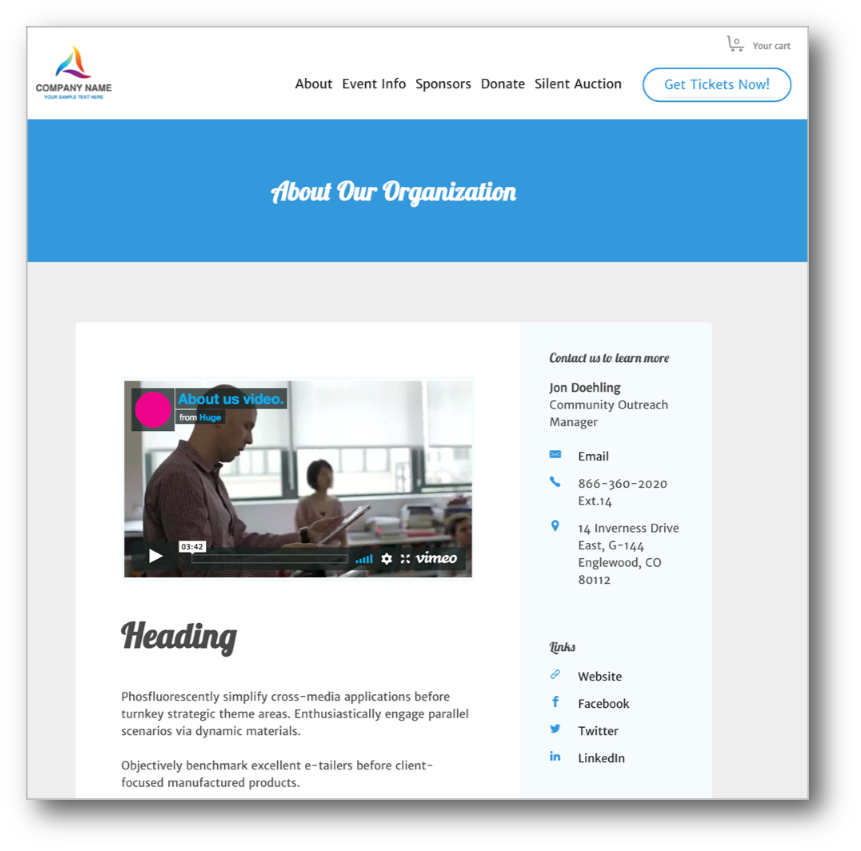
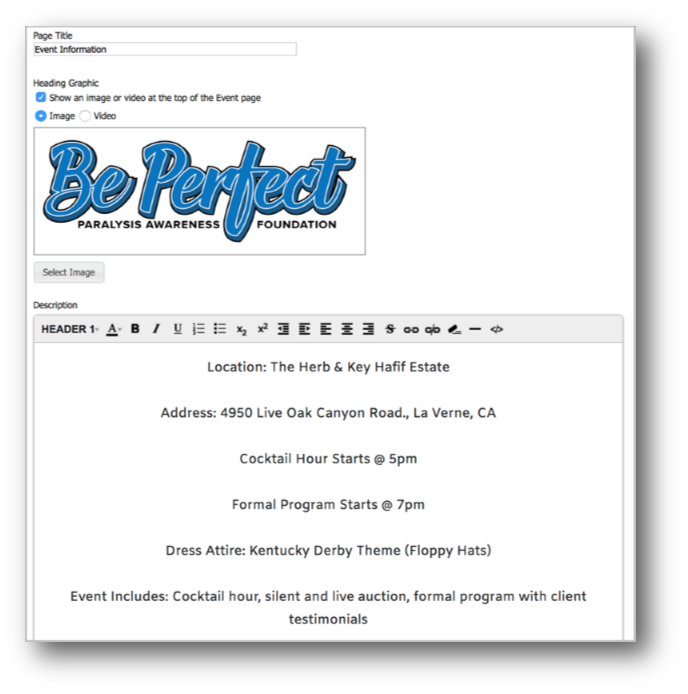
Page Title
The page title will be displayed in the about page header area.
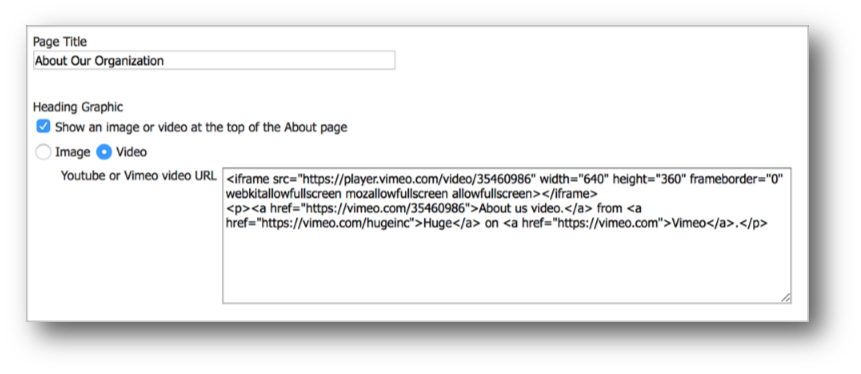
Heading Graphic
Here you can choose to either display nothing, an image, or a video.
Image
- Upload any saved image here, it will be displayed at the top of the about page.
Video
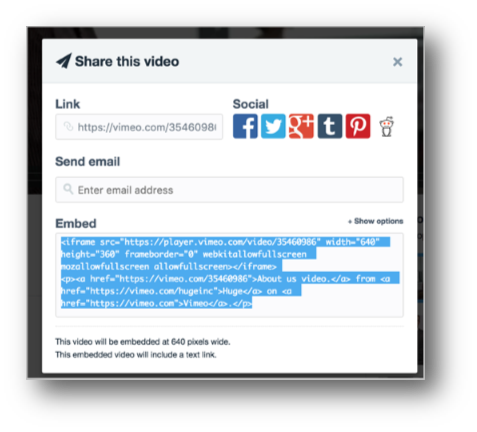
- To show a video, copy/paste the embed code from popular video platforms such as Vimeo or YouTube.

- Open the video in your web browser and click the share button
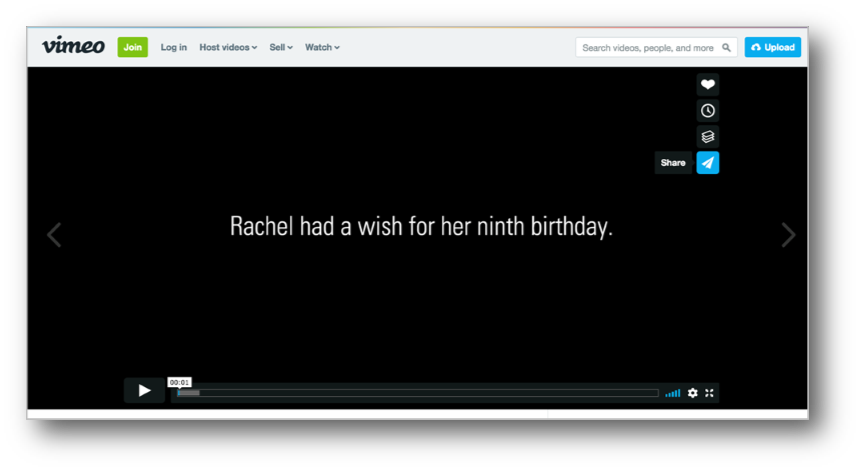
- Copy the embed snippet and paste it in the video URL field in Auction Conductor

- Open the video in your web browser and click the share button
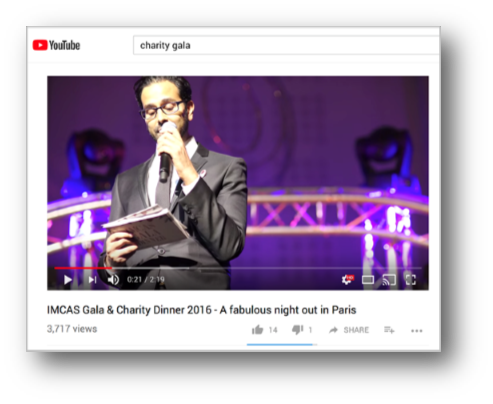
- Click the embed button

- Uncheck the box for show suggested videos when the video finishes
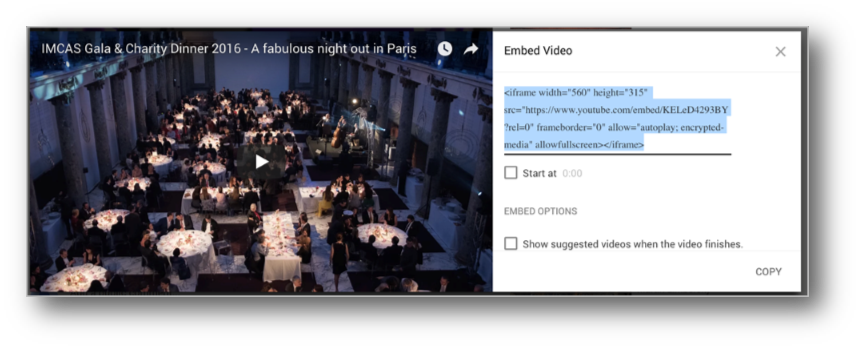
- Copy the embed snippet and paste it in the video URL field in Auction Conductor
Photo Gallery
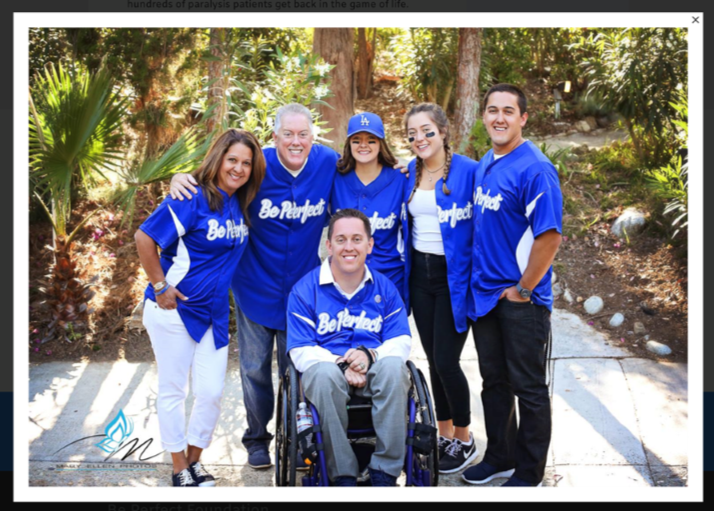
At the bottom of the About page, you can display a photo gallery highlighting staff, board members, the people you serve, programs you run, or anything that would be best described by an image and short run of text.
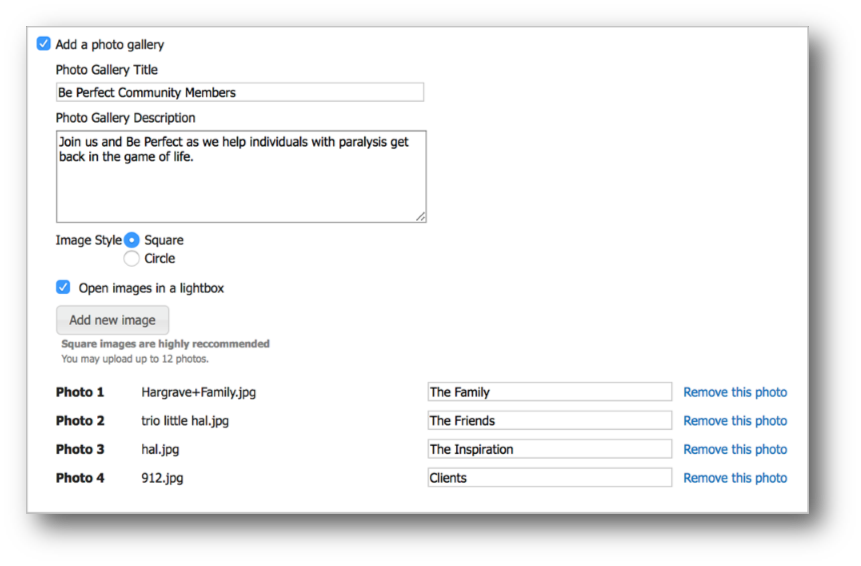
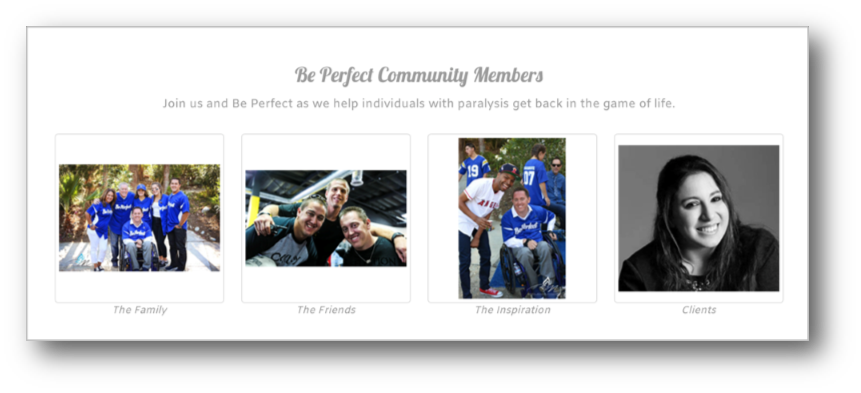

When enabled, this option will give the user the option to click on the image to expand it into a lightbox viewer.
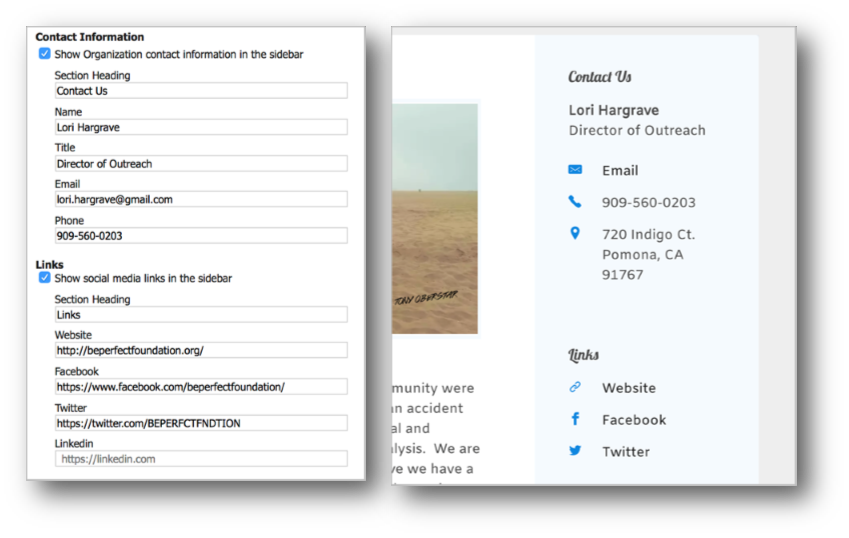
Organization Contact & Social Media
In this section, you will configure your desired contact information and social media links that will appear in various places throughout the event website and confirmation emails.
If you do not wish to display links to specific social media sites, simply leave those fields blank in the configuration wizard.
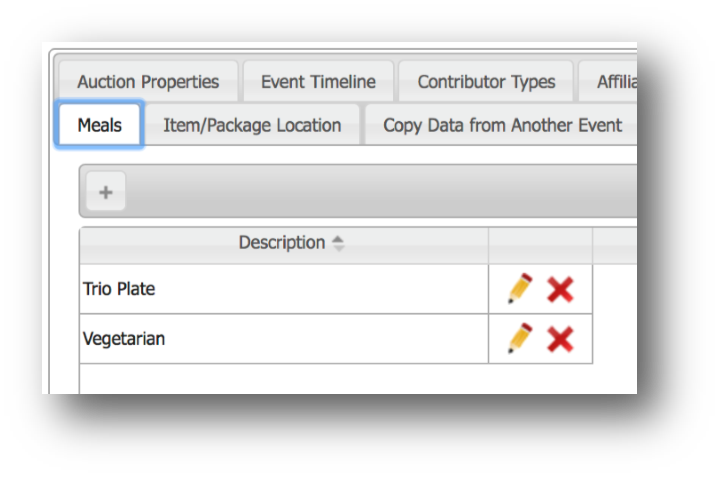
Ticketing Page
Here you will select the various tickets and admission packages you wish to sell on the event website.
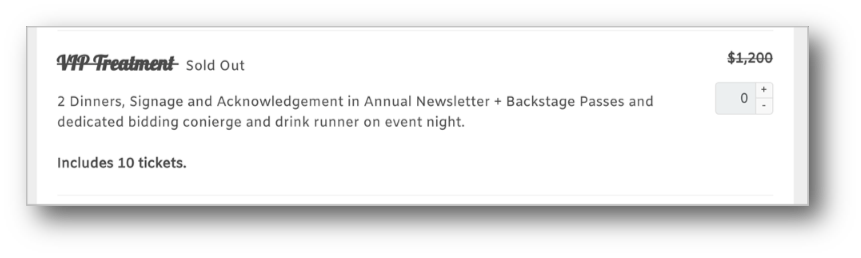
Setting Limited Quantities
If you have limited tickets available for any specific package, you can set a limit at which that package will “sell out”. This is configured in the individual package details
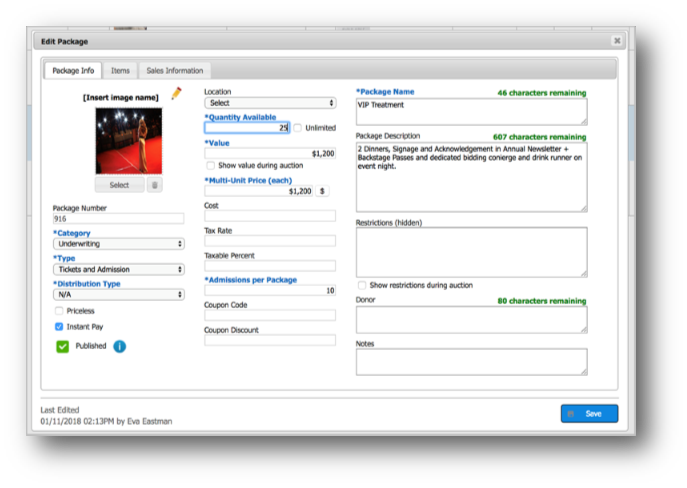
Setting the Number of Admission Tickets Included
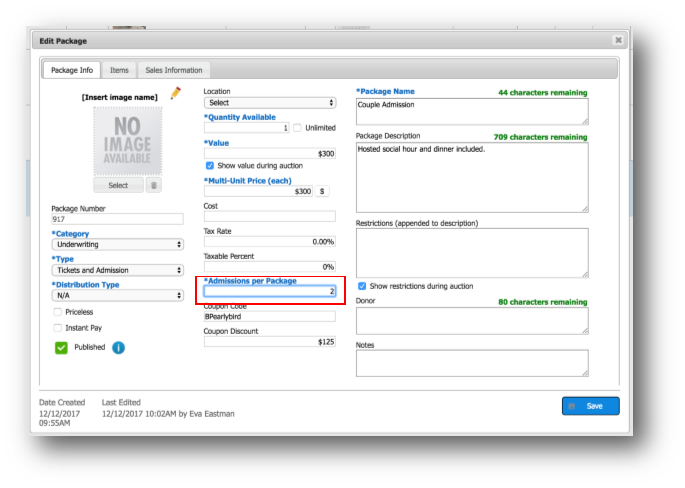
For each ticketing package, you will need to individually set the number of admission tickets per package.
For example, a single admission package should only have 1 for this field.
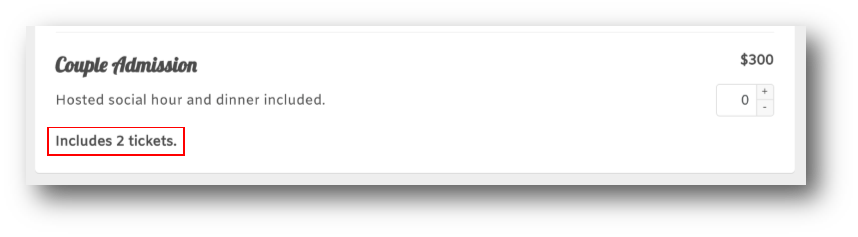
A couple admission package should have 2.
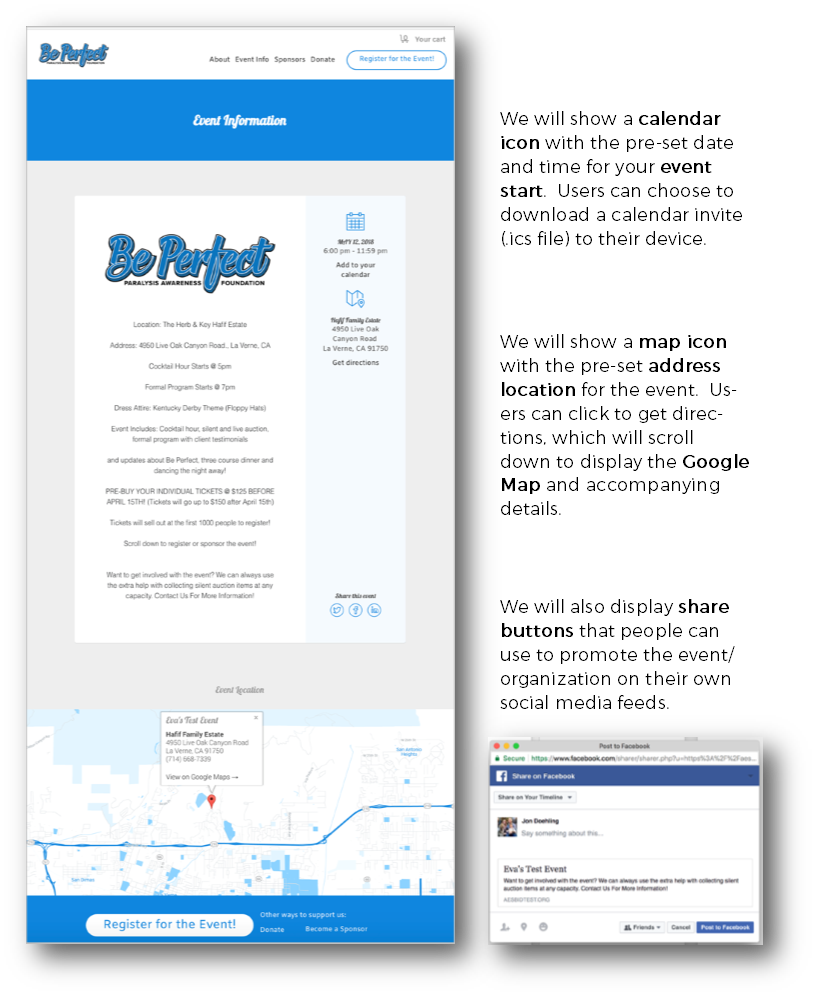
Event Page
This page is intended to promote the event. It is a place where potential attendees can preview the event program, timeline, location, and entertainment.
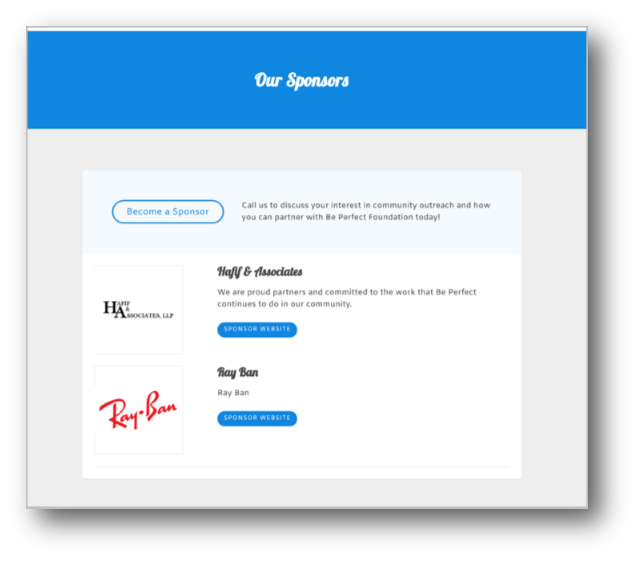
Sponsor Recognition Page
This page gives you an area to promote your event and organization sponsors, and also provides a button and description for users to purchase their own sponsorship package (if any are made available).

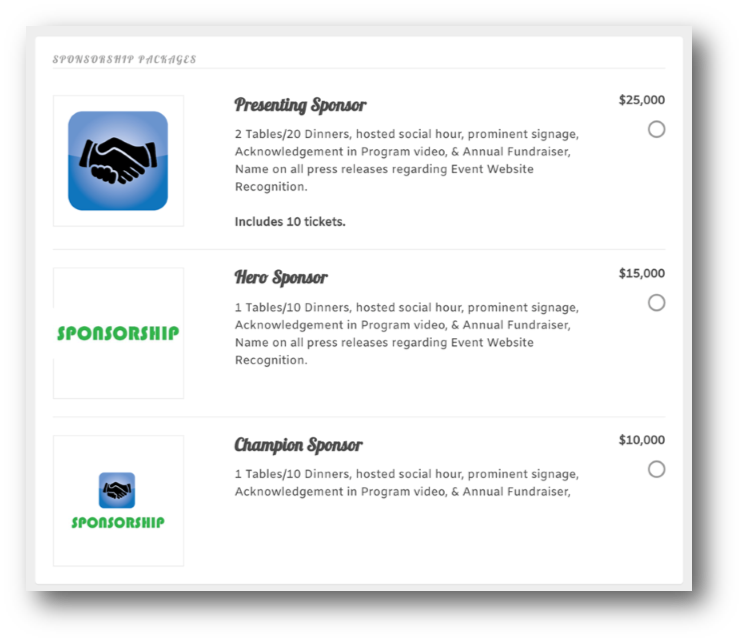
Become a Sponsor Page
When the sell sponsorship packages option is enabled, and at least one package is selected, your event website visitors will be able to purchase their very own sponsorship package from the site.
Selected sponsorship packages will be displayed with images, descriptions, and number of included admission tickets (if applicable).
Uploading a Sponsor Details
When purchasing a sponsorship package, users will have the ability to upload their own company name, logo, website and description.
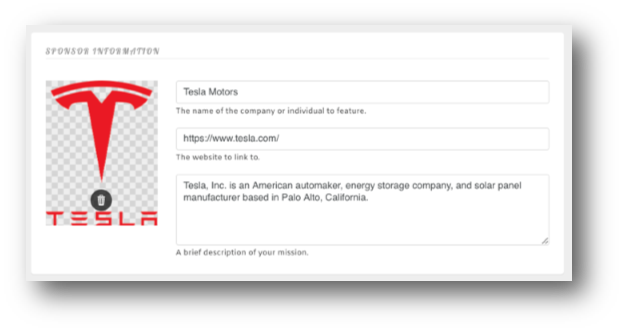
These details will automatically be saved in your event database, under the purchasing Contributor.
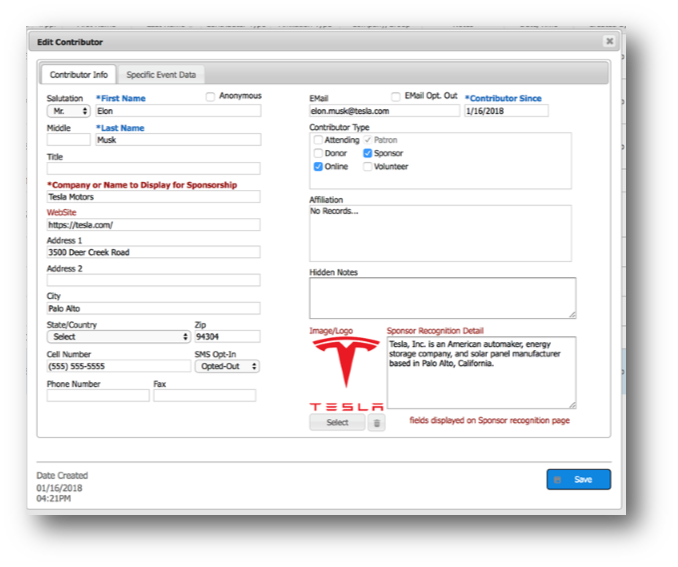
You may wish to add sponsors manually, if they obtained their sponsorship through other means. To do this simply create a new Contributor in Auction Conductor then upload the appropriate details here.
Donate Page
This page is where you can choose to display either a simple general donation field (for any amount), or specific donation packages (with pre-set amounts).
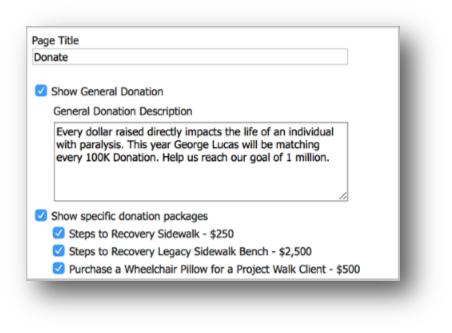
Specific donation packages will display the package image, description, and pre-set amount.
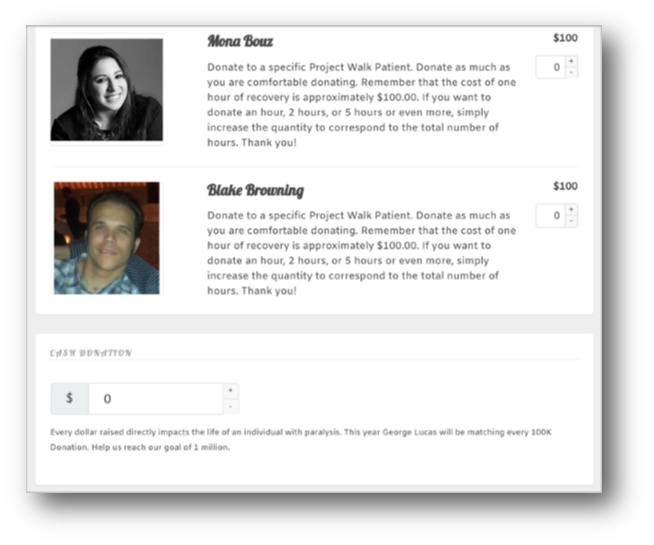
The general donation will display the general donation name and description found in the settings fields, along with an open field for any amount.
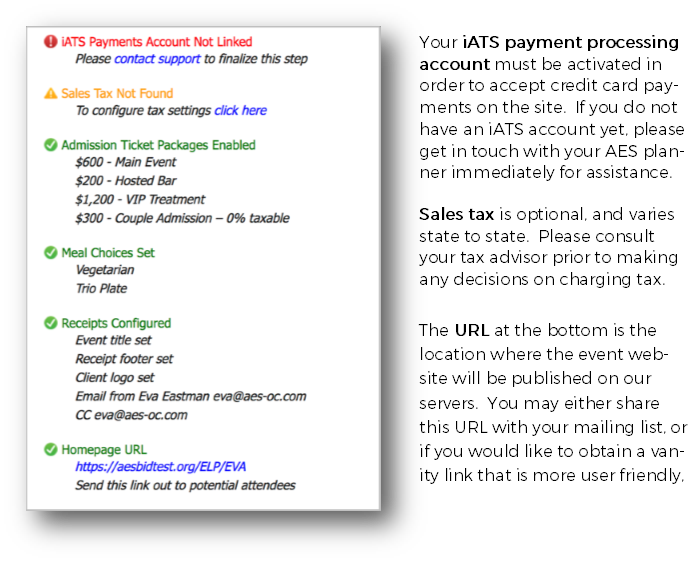
Final Review Checklist
The last section of the event website configuration is the final review checklist. Here you will see any relevant warnings (orange), blockers (red), or completed tasks (green) that will impact the overall effectiveness of your website.
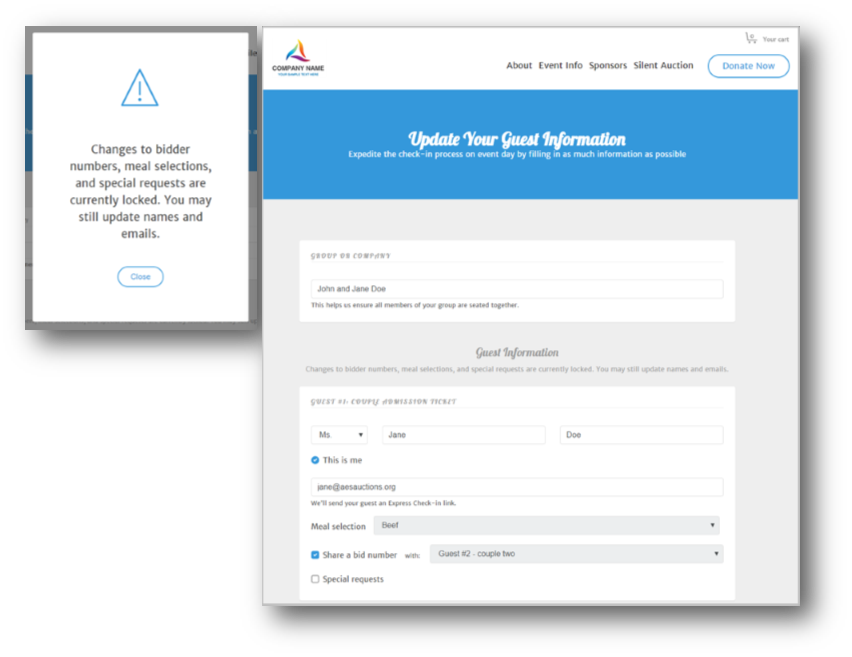
The Ticket Buying User Experience
When your invitees are purchasing tickets through the event website, they will be presented with a few options (some required and some not) to make your job easier and streamline event day check-in.
Group or Company Name
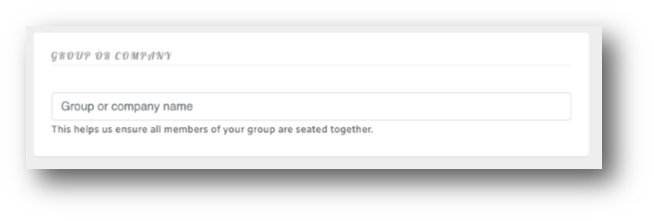
This field is optional. The user may specify the company or group they are associated with, and we will save in their Contributor record to make searching for them easier. This also helps greatly with table seating as all guests in this form will be automatically associated together in Auction Conductor.
Guest Information Collection
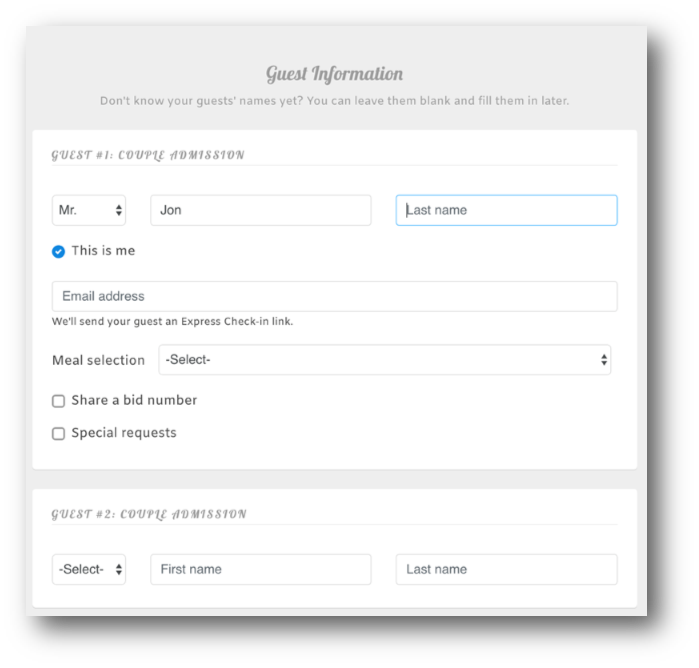
Mandatory fields include name, email address, and meal type.
Optional fields include the ability to share a bid number with another guest (which applies to all purchases) and make special requests for food, seating, etc.
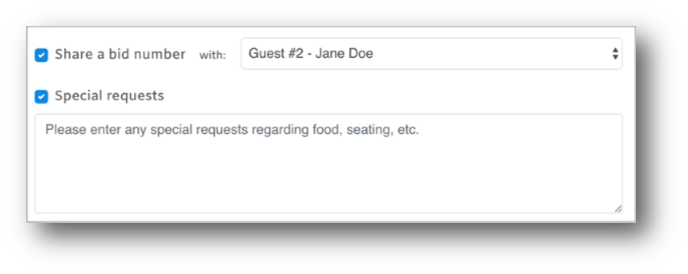
All selections will be saved to the Contributor record, and can be updated at a later time either by the guest themselves, or an event administrator.
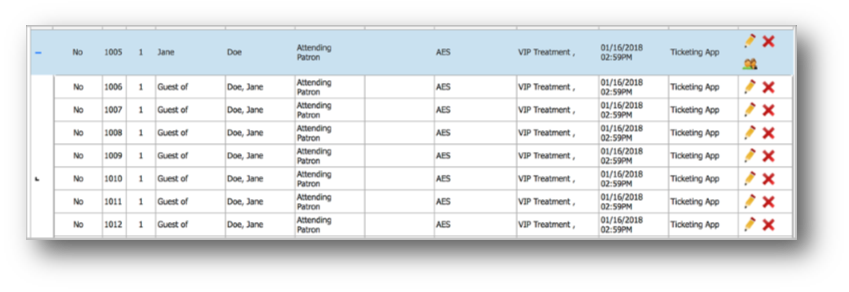
If the user declines to fill in a guest name, that’s OK! We will still create the Contributor with the name “Guest of {last_name}, {first_name}”, and associate the entire group to make them easy to find later.
Seating Guests at Tables
As your event day draws near, you will want to start assigning attendees to tables (if applicable). Lucky for you, AES makes this very simple with our drag and drop table seating feature.
First, log in to Auction Conductor and go to the seating tab.
On the left we have a list of every attending guest that still needs to be seated. By default seated guests are hidden, but you can unhide them by clicking the show only unseated box.
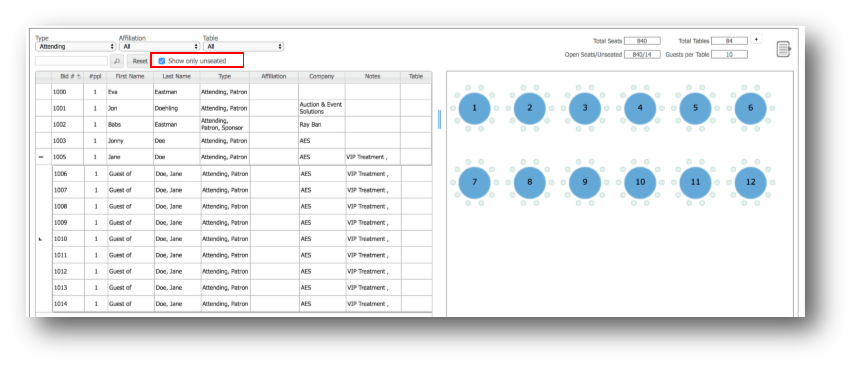
On the right, we have a rudimentary diagram of tables with open seats in grey, and filled seats in blue.
To seat your guests at tables, simply drag and drop them from the grid on the left to the table on the right. You will see their names populate in the grid below when the table is selected.
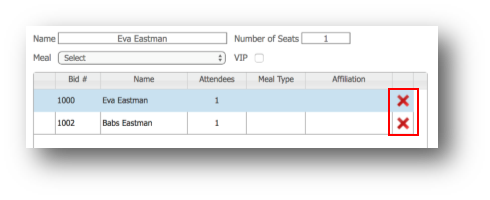
Here you can also remove guests from their assigned table by clicking the red X icon.
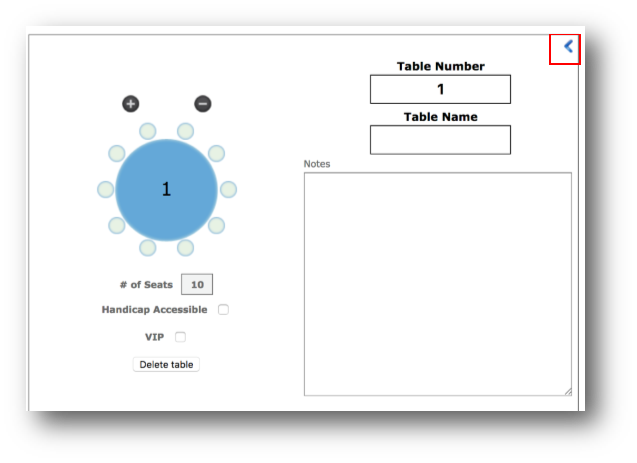
Adding Chairs to Individual Tables
Some tables may require more or less than the standard number of chairs (10). To edit, first double click on the desired table. Then click the plus/minus buttons above the table to add or remove chairs.
Here you can also change the table number (it cannot already be taken), add a table name, notes, or mark the table as handicap accessible or VIP.
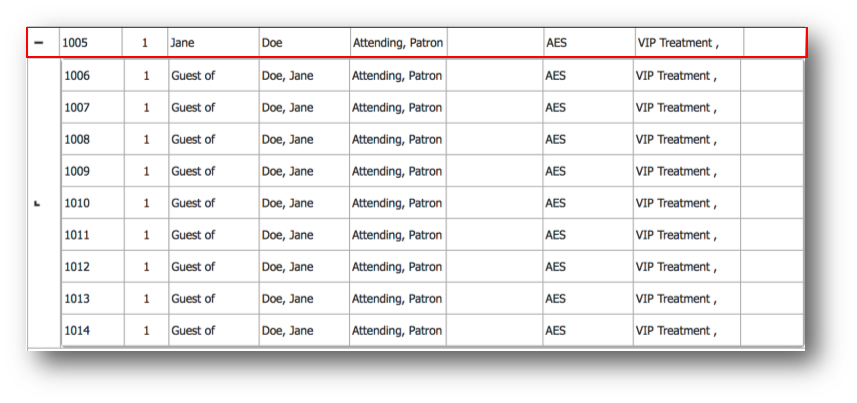
Seating the Entire Group at Once
One of the most utilized features is the ability to seat entire groups together at the same table, with one swift operation. To do this, make sure you drag the primary contributor (the one at the top of the group, with the plus/minus sign by their name).
When you drag that primary contributor to a table, you will be asked if you would like to move all associated patrons to this table as well. Answer yes, and the entire group will be seated at the table – provided there are enough open chairs.
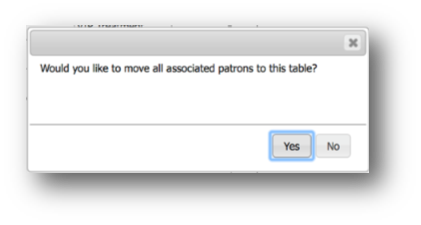
Of course, you can always say no here – but then you will need to drag and drop each individual contributor in the group to their respective tables!
How did we do?
Coupon Codes for Event Ticketing
Accept Tickets Messaging Template