Overview of the event check-in process including: Collecting contact info, putting credit cards on file, associating households, and printing bidder paddles.
Updated
by Meredith Cantrell
Use this guide to check guests in to your event with Event Manager. You will search for the guest, review or update their profile, place a card on file, and complete check-in.
Getting Started
Open your Event Manager instance, found in the upper right-hand corner of Auction Conductor.
Log in to Event Manager with the same credentials used in Auction Conductor, or as a volunteer if applicable.
Finding a Contributor
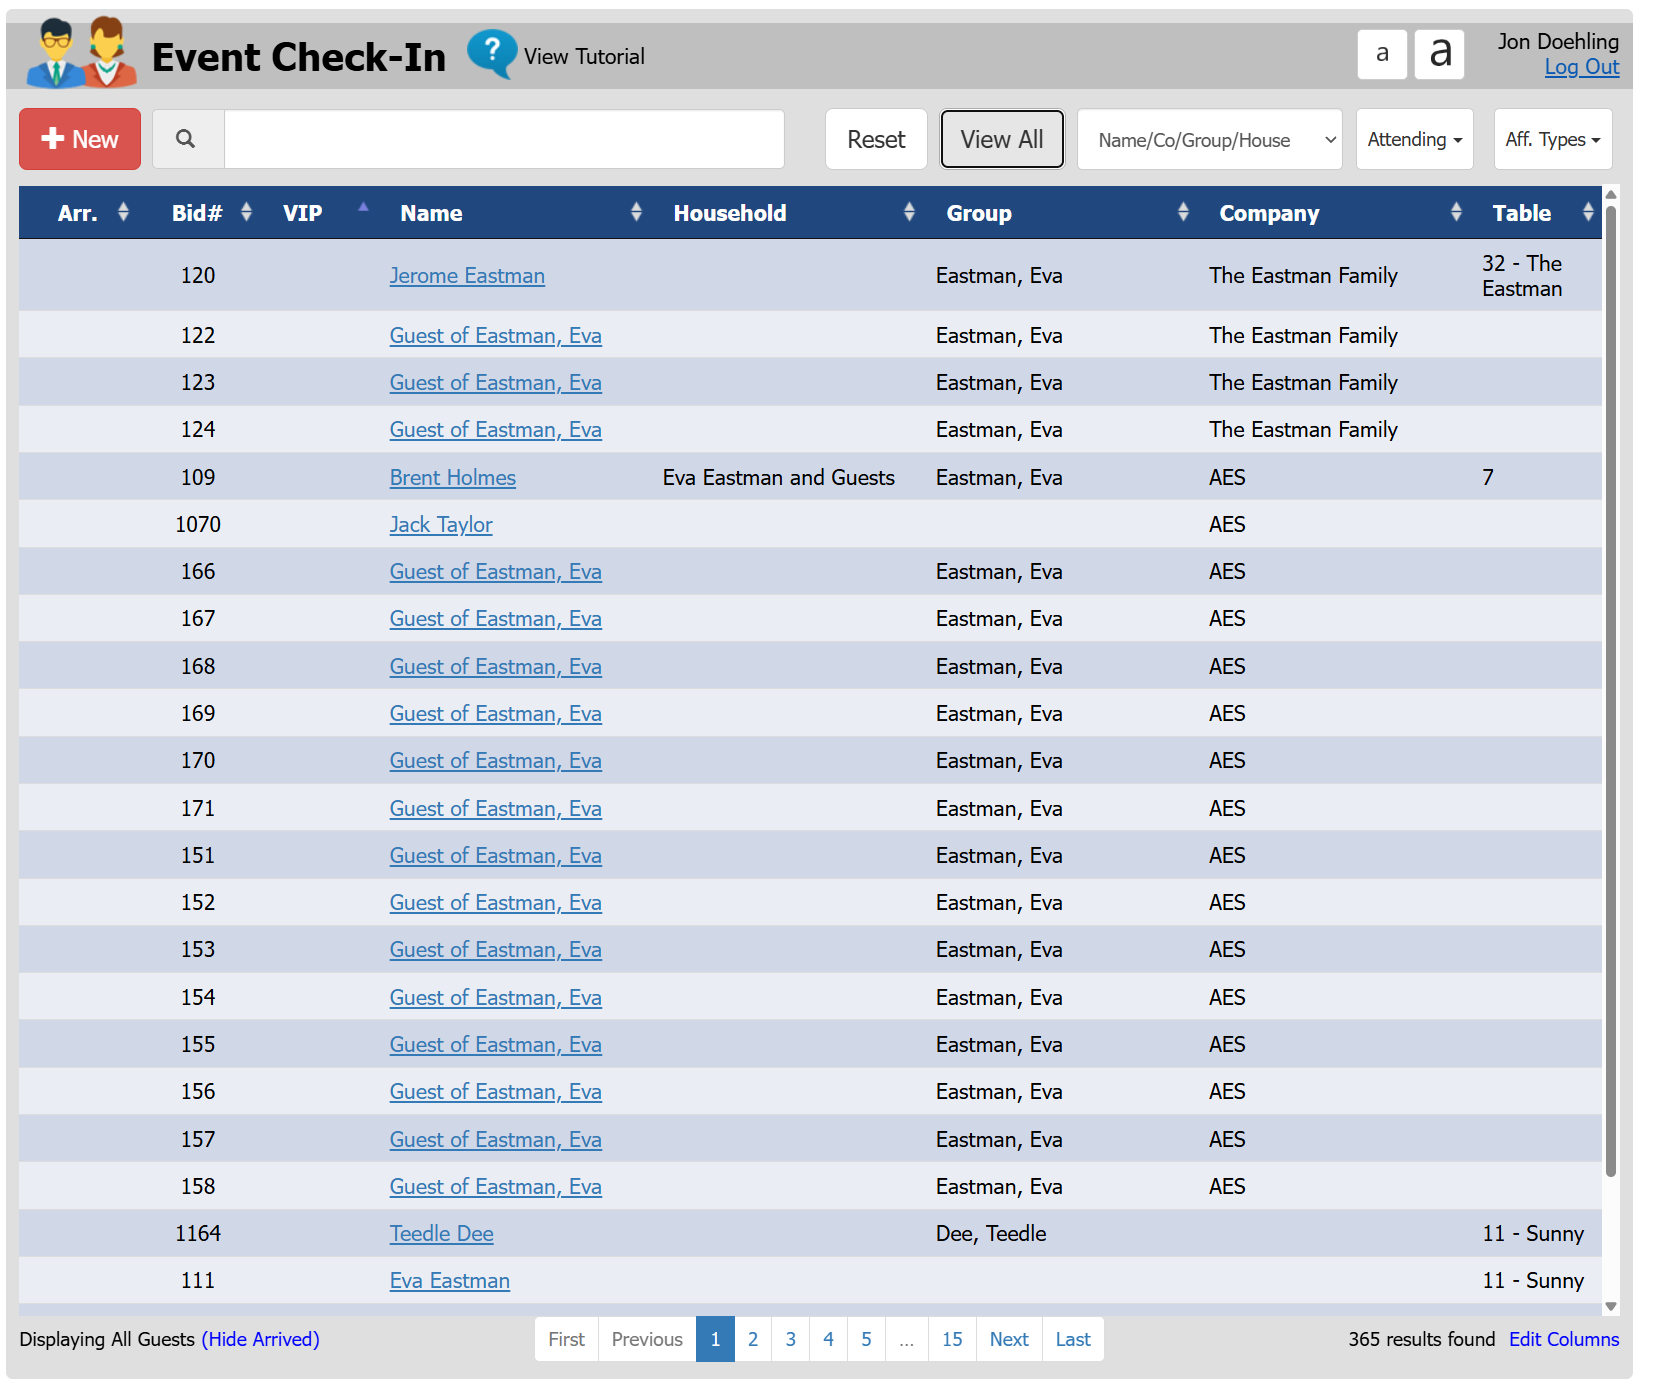
Click the Check-In tab to pull up the search screen.
A best practice is to ask the guest to spell their last name and enter the first 3-4 letters as they recite it. As you type, a drop-down list will appear with possible matches. Either choose one of the suggestions or press the Enter key to display the full search results in the grid below.
By default, the search looks for Contributors by Name, Company, or Group. To search by table number or bidder number, select a different option from the dropdown on the right.
Sometimes names are misspelled when entered into the database, or the person may be a guest whose name has not been entered yet. If you cannot find your Contributor by last name, try searching by first name, company, or group.
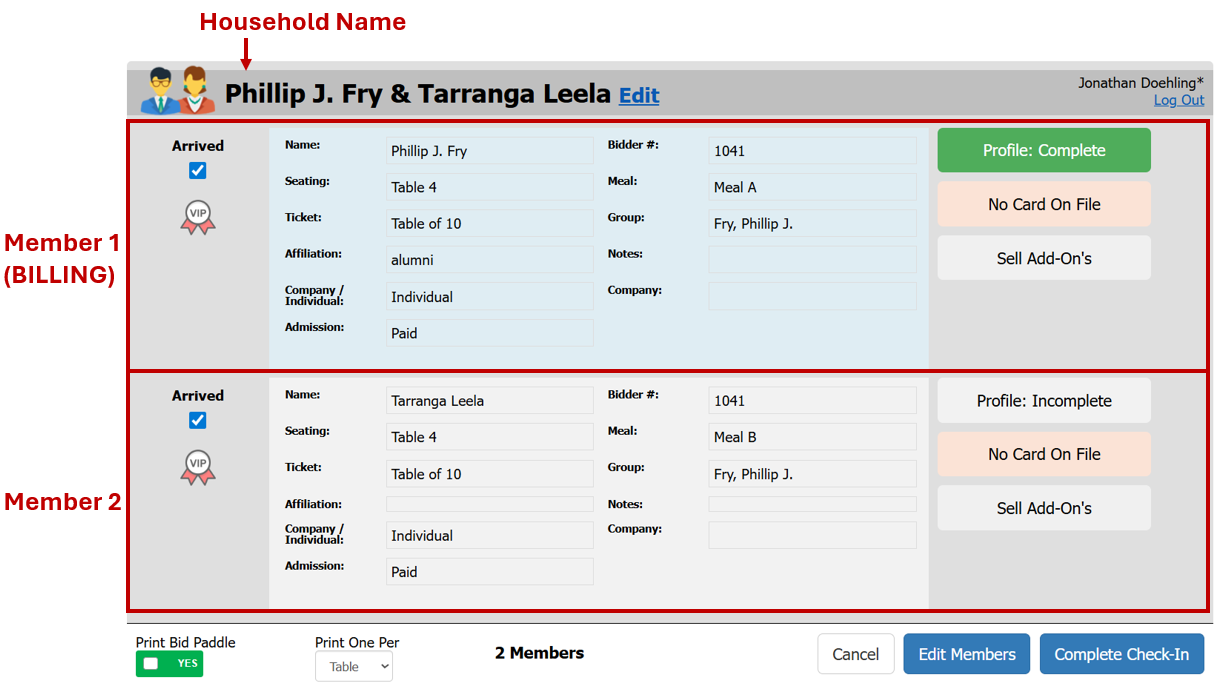
The Contributor Details Screen
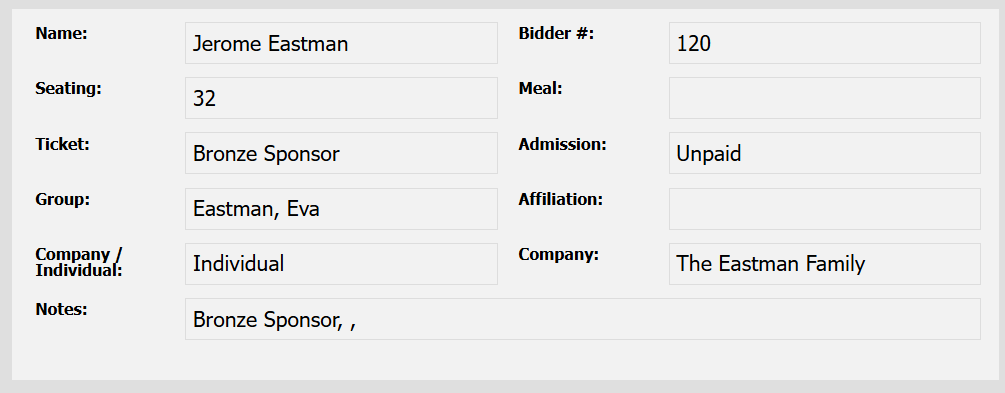
Choosing what data to show in the cards
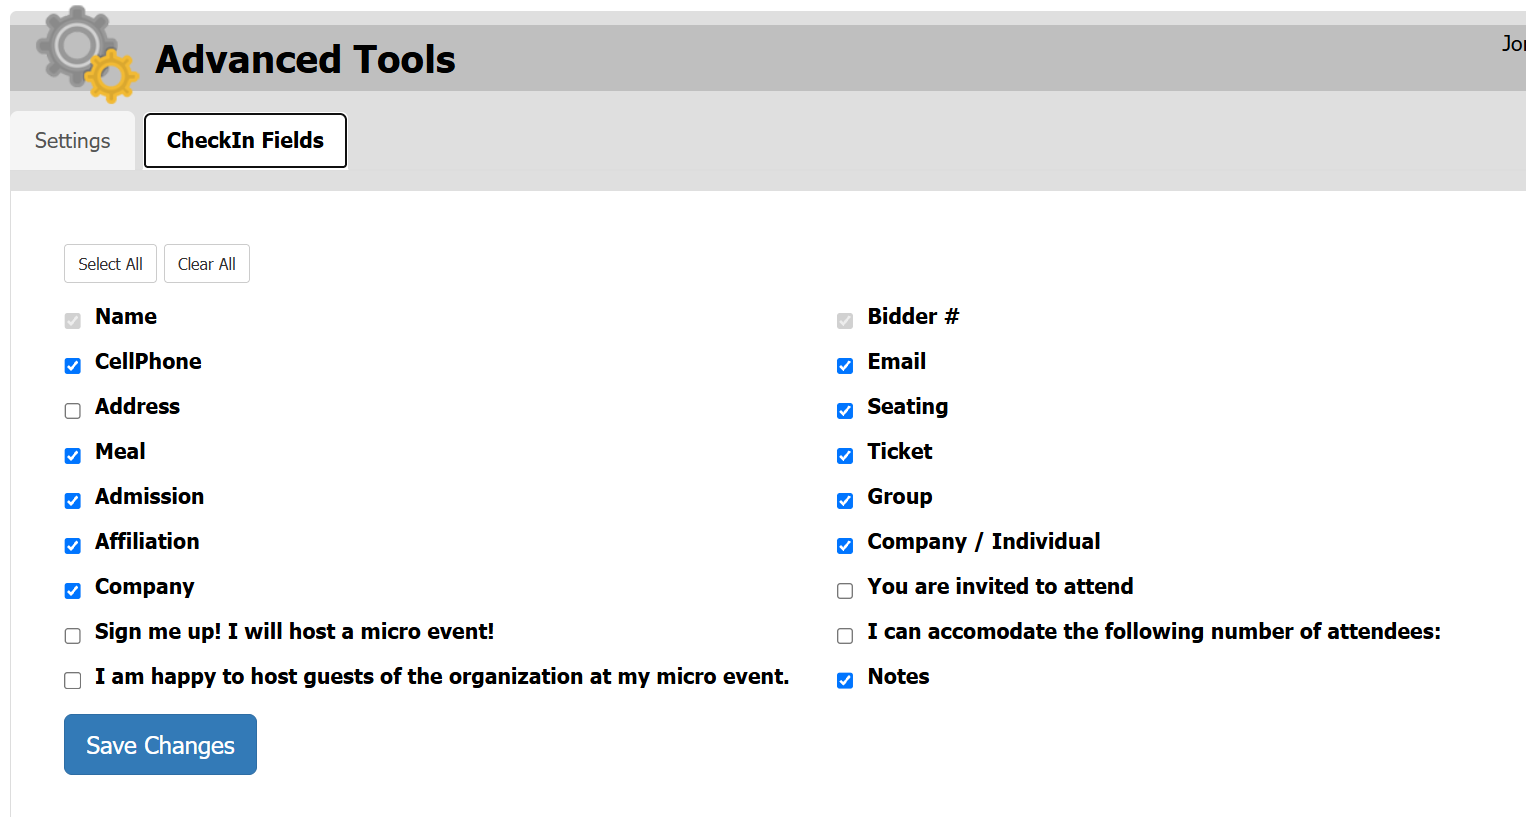
Sometimes there are special fields you need to see at check-in, such as custom fields or meal choices. To control what is shown here:
Navigate to Advanced Tools in the main menu.
Enter the password 1989.
Click the CheckIn Fields tab.
Choose the fields you wish to show and click Save.
The card will update to match.
Updating Guest Information
Creating or Editing Households
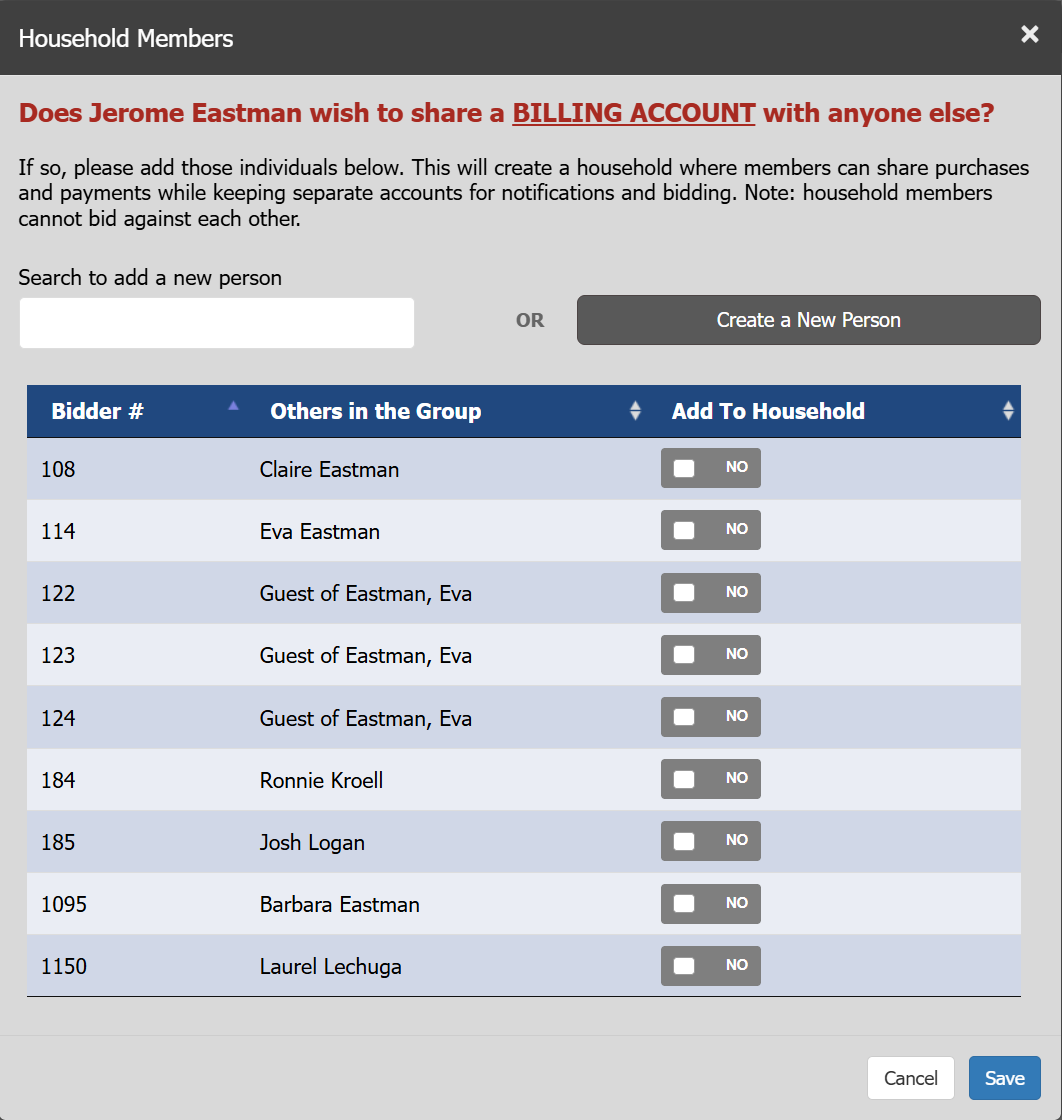
Guests who wish to share purchases, bids, payments, or a credit card on file should be grouped within the same household. This ensures that each guest can bid under their own account but cannot bid against someone else in their household. Household members can also share payment methods at checkout.
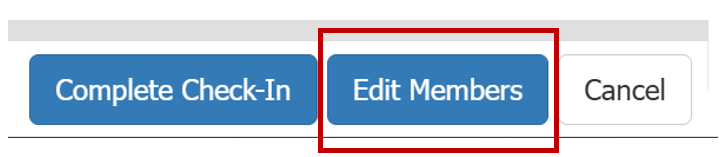
To form a household, click the "Edit Members" button at the bottom of the screen.
If the guest appears in the list provided, toggle the selection to "Yes."
You may also search for another individual or create a new profile to add them to the household.
Completing an incomplete profile
To collect missing information such as address, email, or phone number, or to update a guest's name, click "Profile Incomplete."
Enter the missing information, then click "Save and Continue."
The "Profile Incomplete" button will now be green and read "Profile Complete."
An asterisk (*) indicates required fields.
Placing a Credit Card on File
Click the "No Card On File" button to the right of the profile.
A screen will prompt you to swipe the credit card. If the card will not swipe, or you do not have an AES-certified card reader attached, you can hand-key the card instead by clicking the button to pull up the hand-key form.
After the card is successfully added, the "No Card On File" button will turn green and display the card type along with the last four digits.
At this point you can click the button again to add another card on file or to change which card is preferred for all future purchases at this event. Click Back to return to the previous screen.
You only need to place one credit card on file per bid number (household).
Completing Check-In
Ask the contributor if they would like to receive SMS text notifications for the event
These messages may include outbid alerts, closing reminders, and links to item details or special opportunities.
To enable SMS notifications:
Click "Complete Check-In" in the bottom left corner.
Enter their mobile phone number.
Toggle the SMS option to "Yes" by clicking the box and ensuring a checkmark appears.
Click "Send SMS."
Once sent, the contributor will receive a welcome text that includes their bid number and table assignment.
Clicking "Complete Check-In" followed by "Send SMS" completes the registration process.
Additional Details
To sell multiple units during check-in, click "Sell Add-Ons." Use the "+" and "–" buttons to adjust quantities for each add-on, then click Save.You can also add special notes, sell admission tickets, or assign a new table if needed. In most cases, this step is not required unless the contributor is new.
You can print bid paddles during check-in by setting "Print Bid Paddle" to Yes (green). Then select whether to print one per table or one per person.Confirm that the correct printer is selected, then click Print to complete the process.